Puran
Today I Learned ArcGIS Earth Photos Reading Search Stats
  • 🌍 #ArcGISEarth230Tips | Tip 23: Automate ArcGIS Earth with the Automation API 🤖⚙️

    Did you know?

    The ArcGIS Earth Automation API enables seamless app-to-app communication, allowing third-party applications to control navigation, automate tasks, and manage workflows. Introduced in ArcGIS Earth 1.6 and enhanced with a RESTful API in ArcGIS Earth 1.11, this API provides a fast, reliable, and extensible way to integrate ArcGIS Earth into enterprise GIS systems.

    🛠️ How to Use ArcGIS Earth Automation API:

    1️⃣ Enable and Configure the API ⚙️📡 Activate the Automation API in Advanced Application Settings or configure it via the settings.json file. Adjust autoStart and baseUrl parameters to allow local or remote connections.

    2️⃣ Control Navigation and Data Operations 🌍📂 Use the API to set camera positions, automate fly-through navigation, and load KML, KMZ, and WMS/WMTS layers. Manage workspaces dynamically by adding, updating, or removing layers via automation scripts.

    3️⃣ Extend GIS Workflows with REST API Integration 🔗🚀 Integrate ArcGIS Earth with enterprise GIS platforms, web applications, or custom .NET extensions. Synchronize 3D scene views with ArcGIS Pro, capture snapshots, and enhance cross-application interactions.

    🚀 Pro Tips:

    1️⃣ Automate 3D Navigation – Use camera positioning and fly-through animations to create smooth GIS presentations. 2️⃣ Synchronize with ArcGIS Pro – Connect scene views between ArcGIS Earth and ArcGIS Pro for real-time geospatial analysis. 3️⃣ Use Ready-to-Use Samples – Access the sample page in Advanced Application Settings to explore the API. Check ArcGIS Earth Automation API GitHub repository for integration samples.
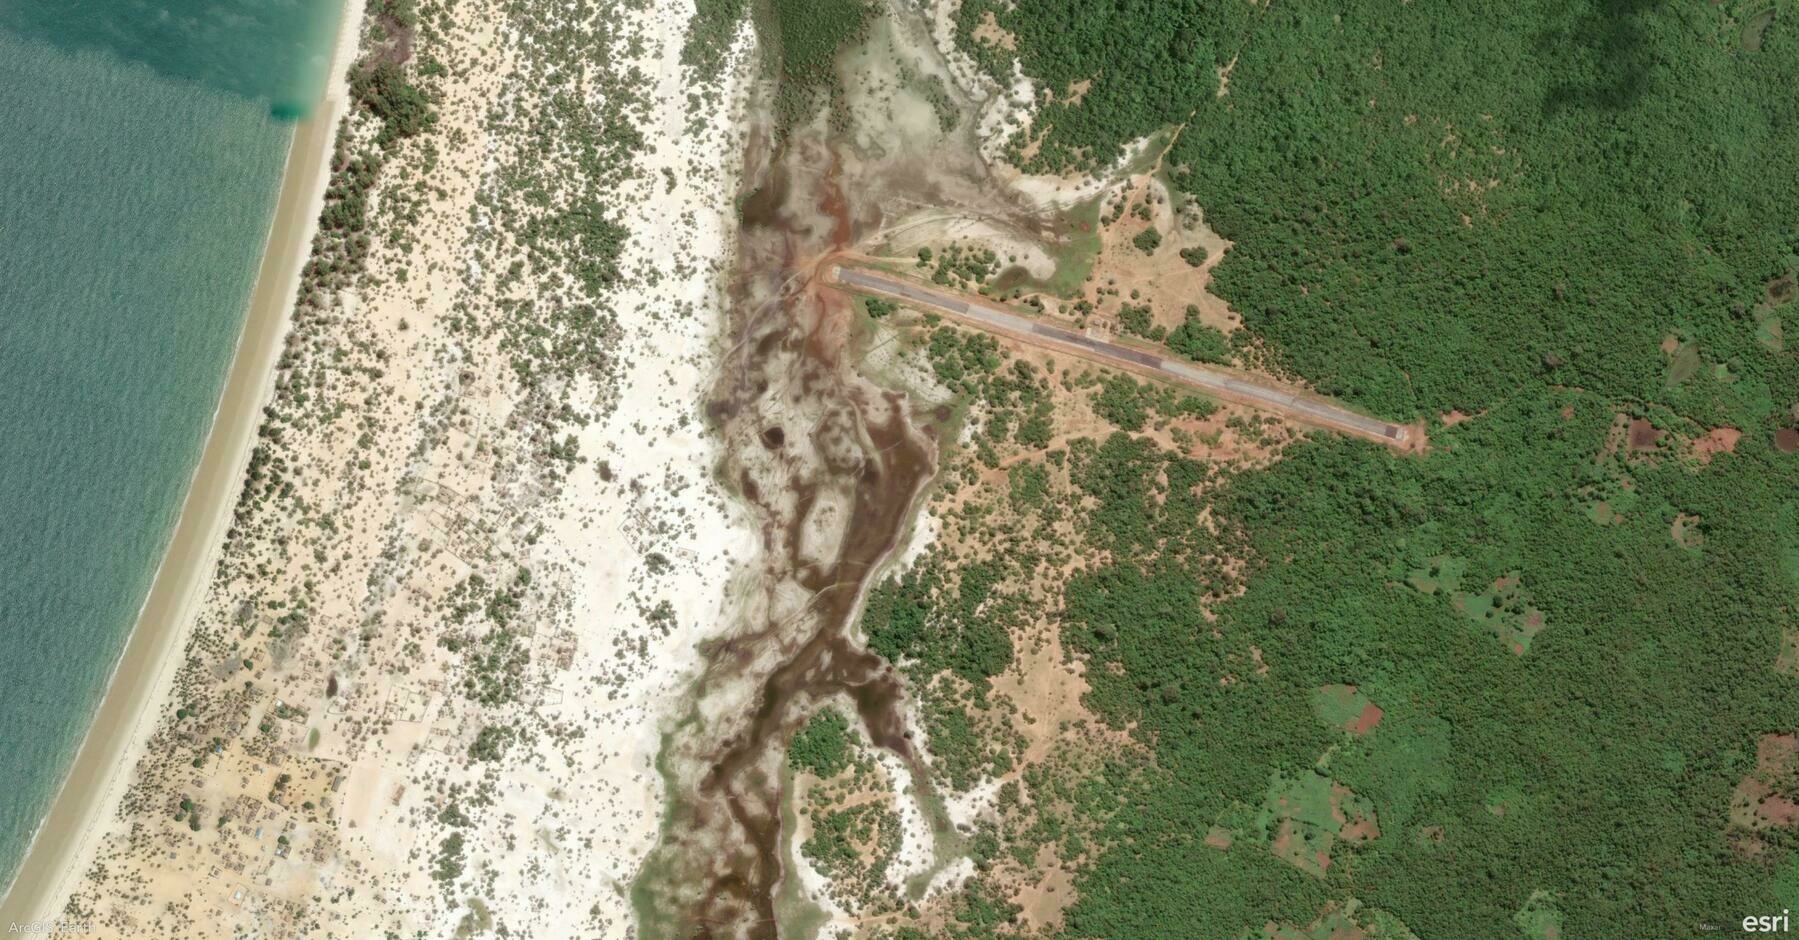
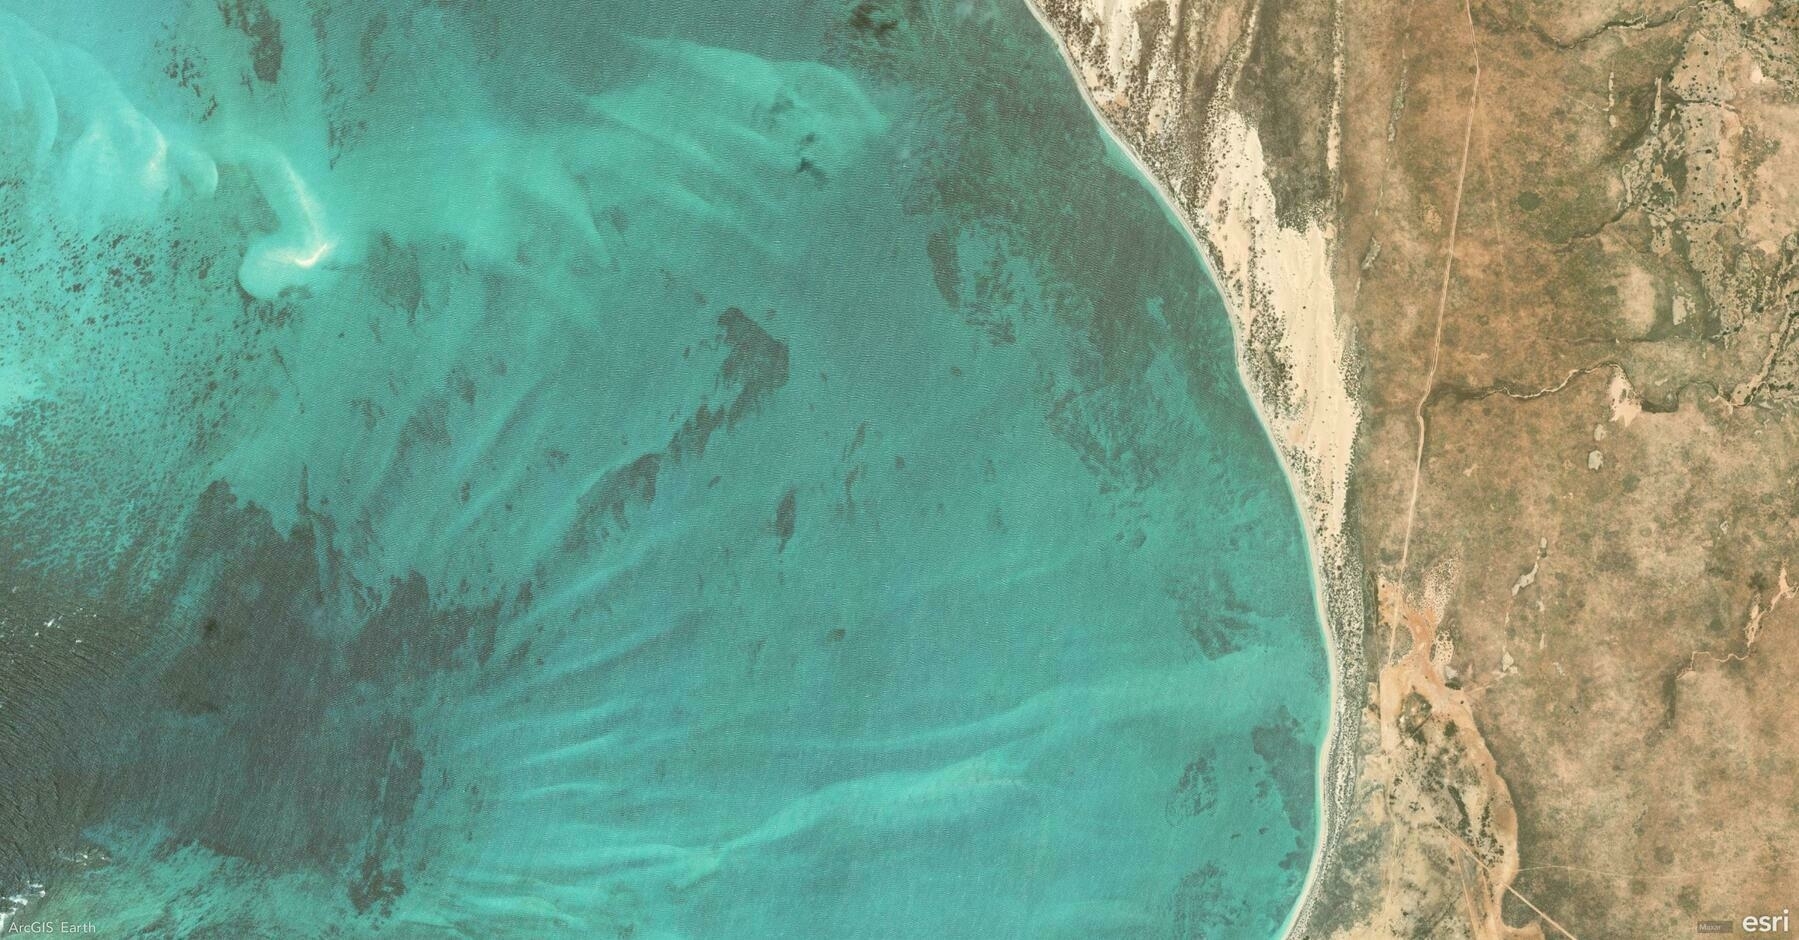
    Screenshot of District d'Analalava, Madagascar, from ArcGIS Earth
    → 10:16 PM, Feb 21
    Also on Bluesky
  • 🌍 #ArcGISEarth230Tips | Tip 22: Take 3D GIS Anywhere with ArcGIS Earth Mobile 📱🌎

    Did you know?

    ArcGIS Earth Mobile launched in September 2019, bringing powerful 3D GIS visualization and field mapping to iOS and Android. Whether you’re exploring 3D maps, performing interactive analysis, or recording GPS tracks, ArcGIS Earth Mobile provides seamless access to geospatial data—online or offline.

    🛠️ How to Use ArcGIS Earth Mobile for Field Operations:

    1️⃣ Access 2D & 3D Content from Anywhere 🌍📂 Connect to ArcGIS Online, ArcGIS Enterprise, or load local datasets to explore terrain, vector layers, and 3D content in real time.

    2️⃣ Capture and Share Field Observations ✏️📌 Create points, lines, and polygons, annotate maps with drawings, labels, and geotagged photos, and export findings as KMZ files for easy sharing and GIS integration.

    3️⃣ Record GPS Tracks and Conduct 3D Analysis 📍📊 Enable GPS tracking to log movement paths, generate location-based tours, and perform interactive 3D analysis for deeper spatial insights.

    🚀 Pro Tips:

    1️⃣ Go Offline with Preloaded Maps – Download KML files and 3D scene data for uninterrupted access in disconnected environments. 2️⃣ Create and Share Tours – Combine GPS tracks, drawings, and geotagged images for immersive storytelling. 3️⃣ Enhance Navigation – Use tap-to-identify, geolocation tools, and search functionality for quick access to critical data.

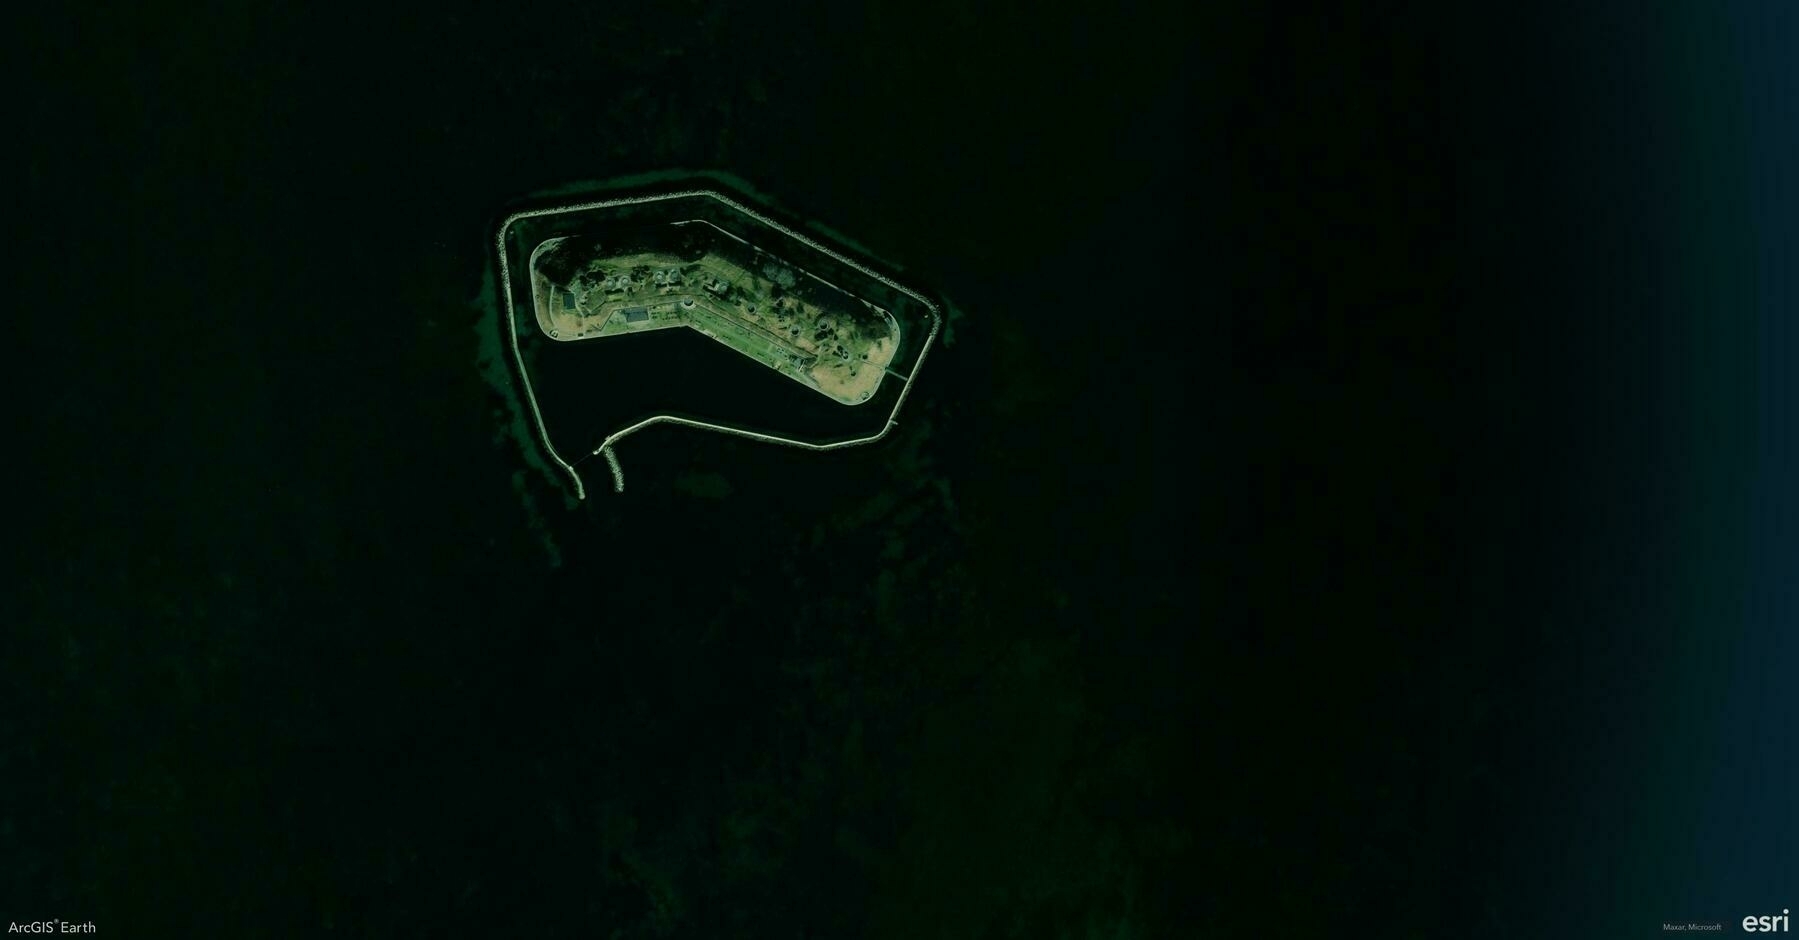
    Screenshot of Kastrup, Denmark, from ArcGIS Earth
    → 9:43 PM, Feb 20
    Also on Bluesky
  • 🌍 #ArcGISEarth230Tips | Tip 21: Save and Share Your Work with ArcGIS Earth Workspaces 🗂️💾

    Did you know?

    ArcGIS Earth’s Workspace feature allows you to save, restore, and share your entire mapping environment, ensuring seamless continuity between sessions. By preserving basemaps, terrain layers, operational data, bookmarks, and custom settings, Workspaces streamline project management and enhance collaboration across teams.

    🛠️ How to Use Workspaces in ArcGIS Earth:

    1️⃣ Save and Restore Your Workspace 💾🔄 Keep your work organized by saving a Workspace directory, which stores your active layers, bookmarks, basemap settings, and movie tracks. Enable Autosave to automatically update your progress and prevent data loss.

    2️⃣ Import, Export, and Share Workspaces 📤📂 Use the Import Workspace option to load a previously saved workspace or Export Workspace to share it with colleagues. This is especially useful when working on ongoing projects or collaborative mapping efforts.

    3️⃣ Manage and Customize Your Workspace Settings ⚙️🔧 Reset a workspace to start fresh, clear all content, or revert to default settings as needed. Workspaces are stored in Documents by default, but you can set a custom directory for better organization.

    🚀 Pro Tips:

    1️⃣ Use Shared Workspaces – Export workspaces to a shared directory so teams can collaborate seamlessly. 2️⃣ Keep Multiple Workspaces – Save different Workspaces for various projects, regions, or analysis types to streamline workflow switching. 3️⃣ Optimize for Version Compatibility – Workspaces from older versions of ArcGIS Earth may not be fully supported in the latest release.

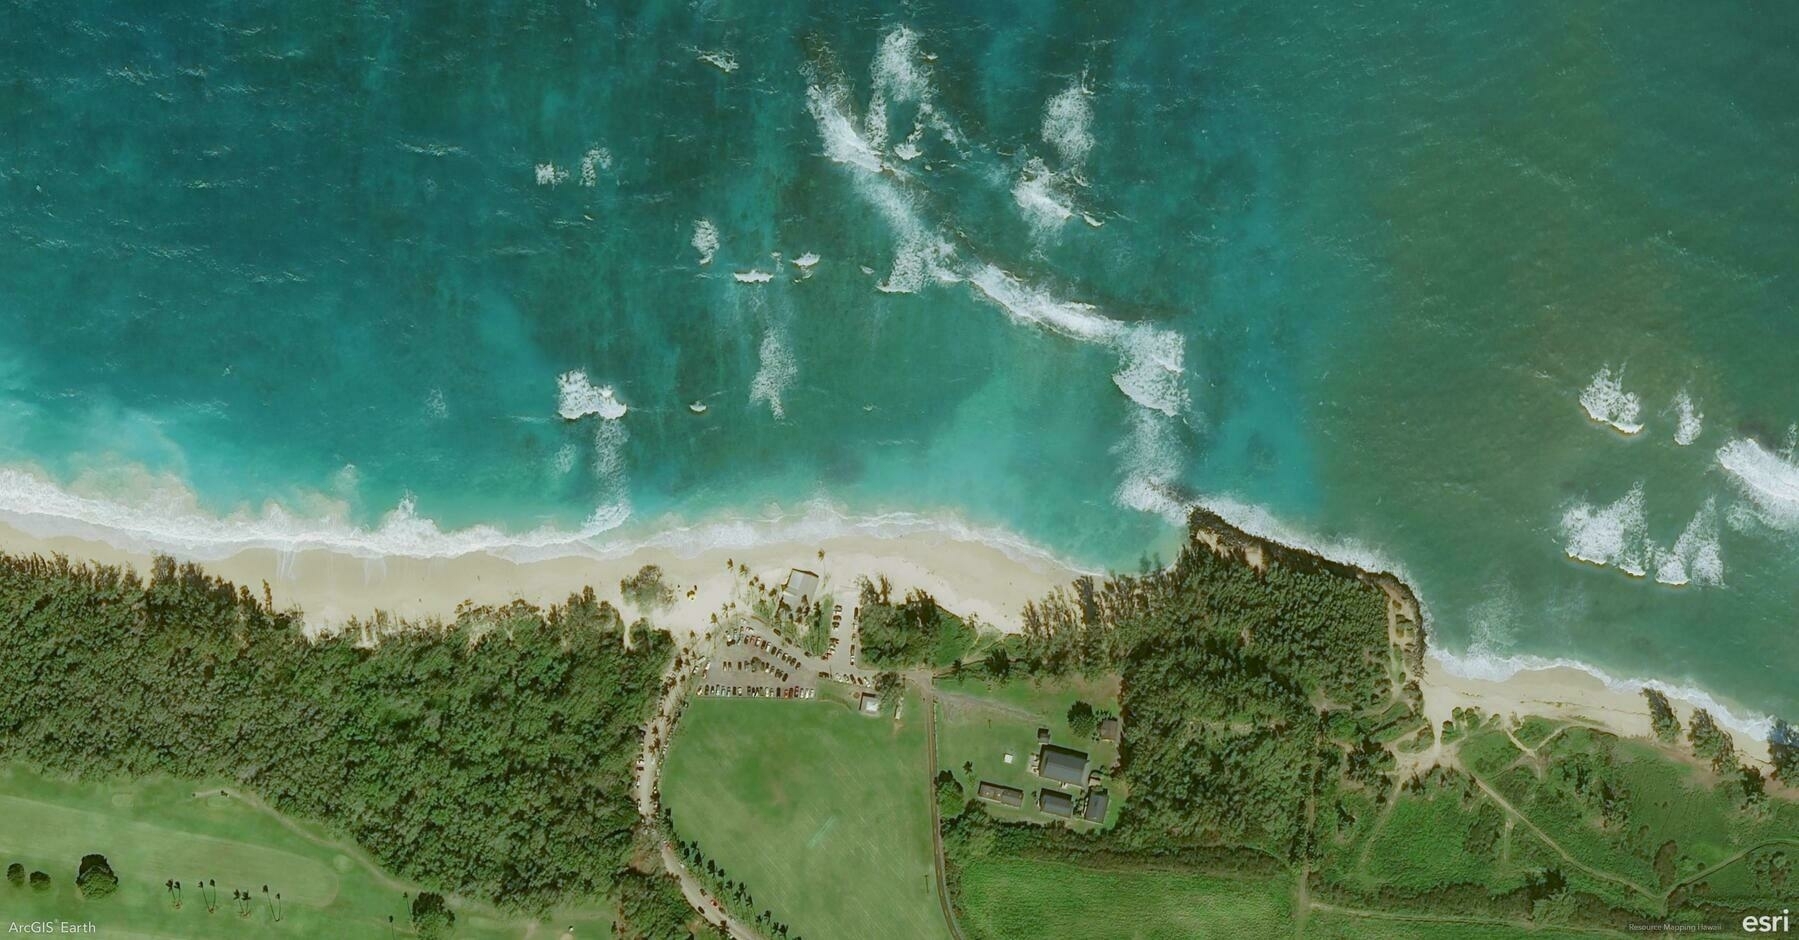
    Screenshot of Paia, United States, from ArcGIS Earth
    → 8:55 PM, Feb 19
    Also on Bluesky
  • 🌍 #ArcGISEarth230Tips | Tip 20: Navigate and Record Your Path with Real-Time GNSS 📍🛰️

    Did you know?

    ArcGIS Earth supports real-time GNSS (Global Navigation Satellite System) integration, allowing you to track your live location, record movement paths, and capture high-accuracy observation points in a 3D environment. Whether for field data collection, navigation, or situational awareness, GNSS ensures precise positioning—even in disconnected environments.

    🛠️ How to Use Real-Time GNSS in ArcGIS Earth:

    1️⃣ Connect to a GNSS Receiver for Live Tracking 📡📍 ArcGIS Earth supports built-in GPS sensors and external GNSS receivers using the NMEA messaging protocol. Connect your device via USB, Bluetooth, or a virtual COM port, then activate Real-Time GNSS to display your live location in the scene.

    2️⃣ Visualize and Record GNSS Movement in 3D 🌎🚶‍♂️ Once connected, ArcGIS Earth can zoom to your location, show altitude, accuracy, and satellite signals, and record movement in real-time. You can log positions as observation points or track movements over time to analyze routes and playback past paths.

    3️⃣ Import, Export, and Share GNSS Data 📥📤 Review historical movements by importing NMEA files, then replay the recorded track in ArcGIS Earth. Export GNSS observations and tracks as KML files or share them to your organization’s GIS portal for further analysis and collaboration.

    🚀 Pro Tips:

    1️⃣ Customize Location Display – Enable speed, altitude, and positional accuracy for real-time situational awareness. 2️⃣ Optimize Fieldwork – Combine offline basemaps with GNSS tracking to ensure seamless navigation in remote areas. 3️⃣ Analyze Past Movements – Replay recorded tracks or import NMEA logs to review field activities and historical routes.

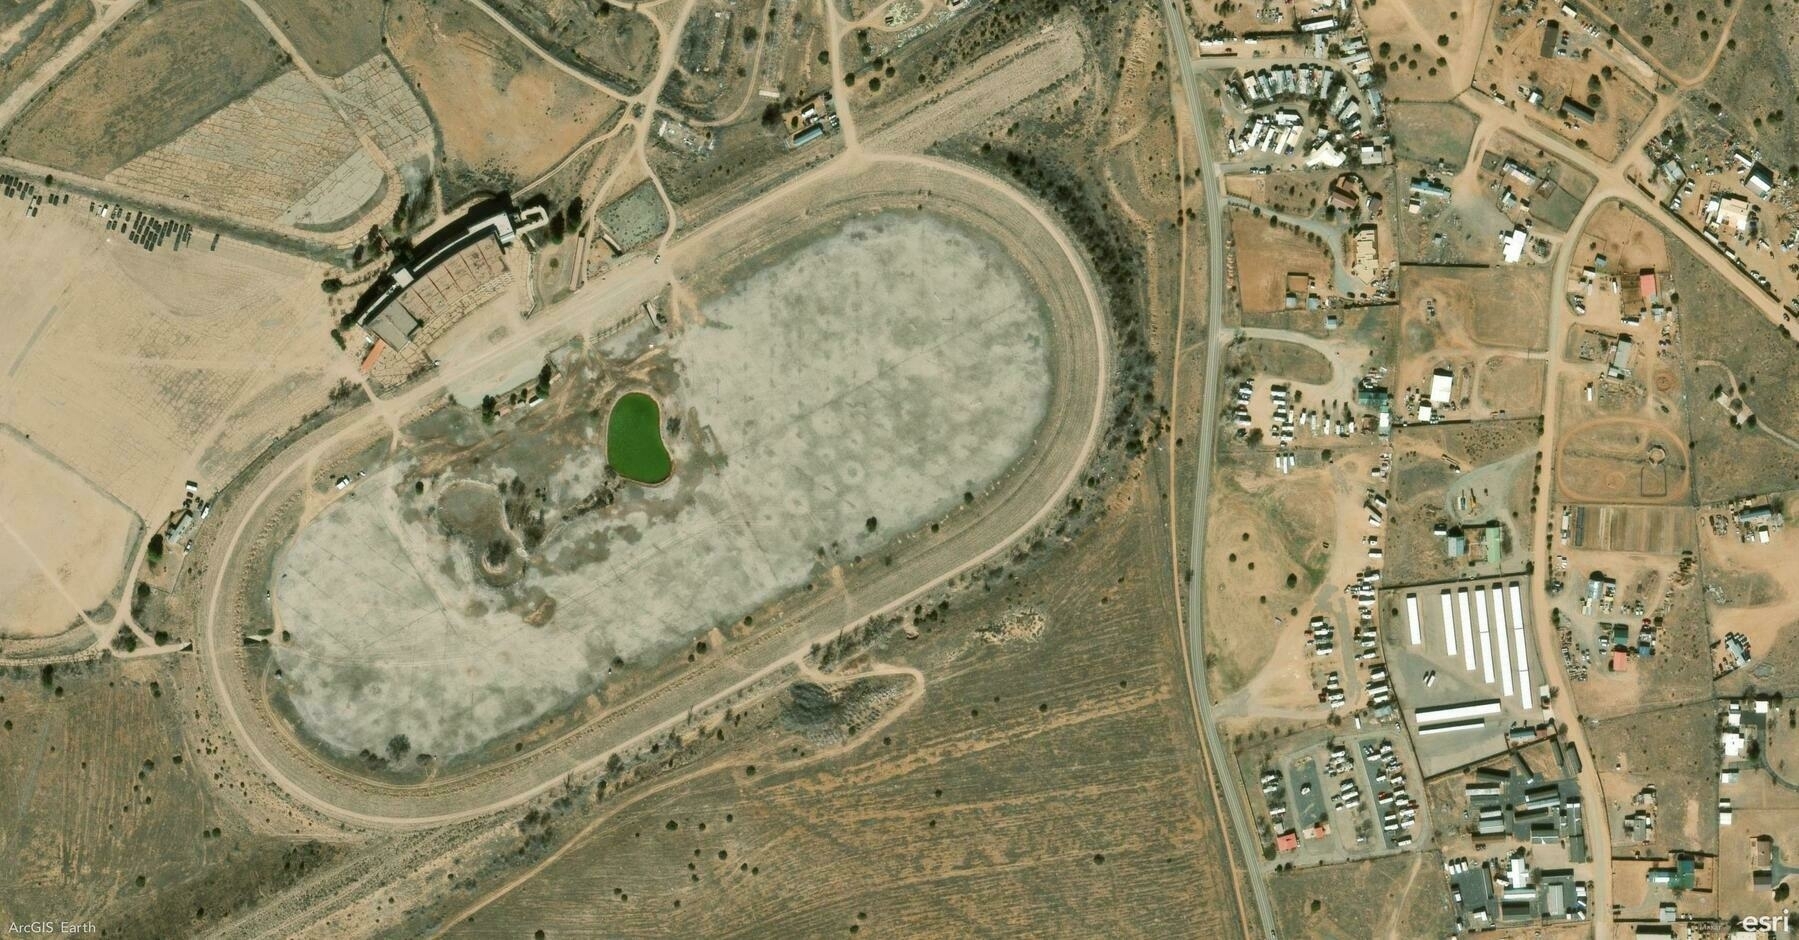
    Screenshot of Santa Fe, United States, from ArcGIS Earth
    → 9:20 PM, Feb 18
    Also on Bluesky
  • 🌍 #ArcGISEarth230Tips | Tip 19: Bring Your Maps to Life with ArcGIS Earth Movie 🎥🌎

    Did you know?

    ArcGIS Earth’s Movie Tool lets you create professional-quality animated videos using geospatial data, camera effects, and environmental settings. With an intuitive interface and advanced editing tools, ArcGIS Earth Movie turns GIS storytelling into a seamless experience, whether you’re showcasing urban development, environmental changes, or GIS analysis.

    🛠️ How to Create a Movie in ArcGIS Earth:

    1️⃣ Capture Key Scenes for Your Movie 🎬📌 Use Bookmarks or manually navigate to define keyframes in your animation. Choose from Fly-To, Rotate, or Zoom effects to control the camera motion, ensuring smooth scene transitions.

    2️⃣ Customize Animation and Effects 🎞️✨ Enhance your movie by adding daylight changes, underground views, basemaps, elevation exaggeration, and markers. Adjust speed, transitions, and camera paths to create professional-quality animations.

    3️⃣ Export High-Quality Videos for Sharing 📤🚀 Once finalized, export your ArcGIS Earth movie as a high-quality video file. Share it with stakeholders, decision-makers, or the public to communicate geographic insights effectively.

    🚀 Pro Tips:

    1️⃣ Use dynamic markers (GIFs, videos, and billboards) to make your scenes more engaging. 2️⃣ Enhance storytelling with in-app voice-over recording for real-time narration. 3️⃣ optimize export time and video clarity from Efficiency, Balanced, or Quality modes.

    Screenshot of Vrataruša, Croatia, from ArcGIS Earth
    → 9:03 PM, Feb 17
    Also on Bluesky
  • 🌍 #ArcGISEarth230Tips | Tip 18: Seamlessly Integrate ArcGIS Earth with App Links 🔗📍

    Did you know?

    ArcGIS Earth supports App Links, allowing you to launch the app from a hyperlink, web service, or external application. You can open specific locations, web services, or portal items instantly, making App Links a powerful tool for field operations, GIS dashboards, and collaboration across desktop and mobile platforms.

    🛠️ How to Use App Links in ArcGIS Earth:

    1️⃣ Open ArcGIS Earth with a Custom URL 🌍🔗 Launch ArcGIS Earth directly using earth.arcgis.app on Windows, Android, or iOS. Customize the URL with parameters to open predefined locations, adjust viewpoints, and set camera angles.

    2️⃣ Automate Workflows with Deep Linking ⚙️🚀 Integrate ArcGIS Earth with GIS platforms, field applications, and enterprise systems by embedding App Links in dashboards, reports, and web services. Configure links to load specific portal items, tile services, or hosted layers instantly.

    3️⃣ Share Direct Links for Collaboration 📤👥 Generate and share App Links to ensure consistent navigation and scene views across teams. Embed links in GIS applications, internal portals, or fieldwork reports to provide quick access to key locations and datasets.

    🚀 Pro Tips:

    1️⃣ Embed App Links in reports, dashboards, and mobile apps for one-click access. 2️⃣ Use Encoded URLs to ensure compatibility across different platforms and systems.

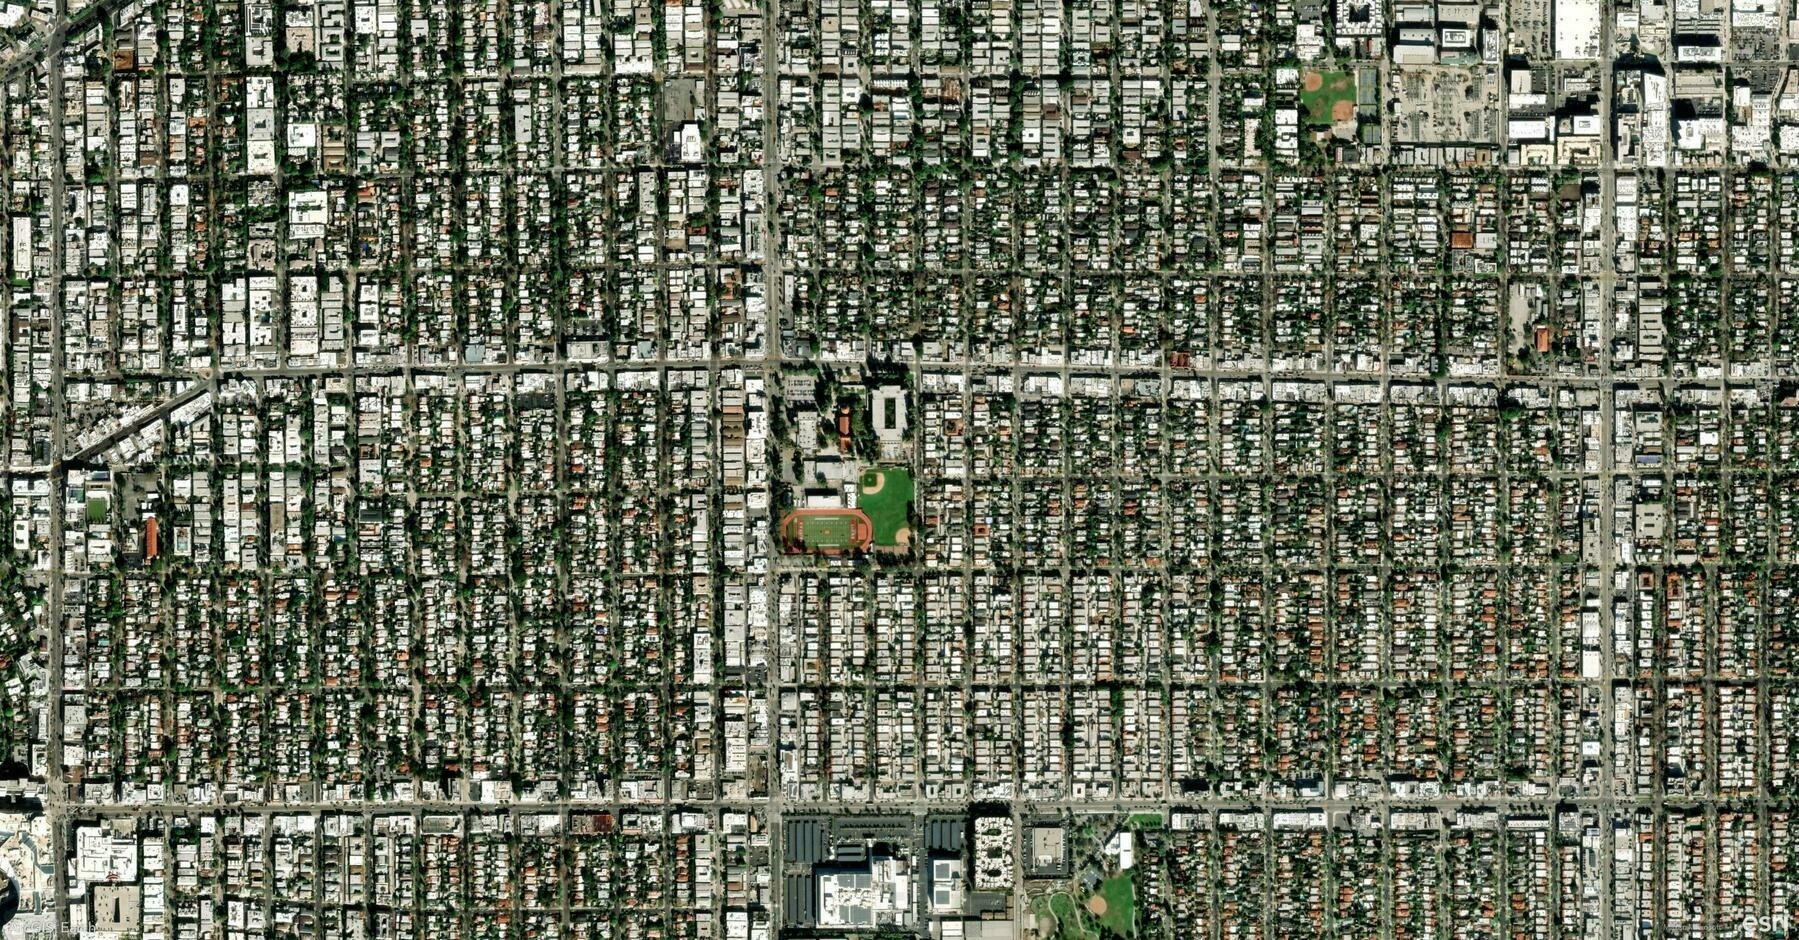
    Screenshot of Los Angeles, United States, from ArcGIS Earth
    → 11:57 PM, Feb 14
    Also on Bluesky
  • 🌍 #ArcGISEarth230Tips | Tip 17: Download Map Tiles for Offline Access 🗺️📥

    Did you know?

    ArcGIS Earth allows you to download web tile and vector tile layers for offline use, ensuring uninterrupted access to basemaps and operational layers even in remote locations. This feature is essential for fieldwork, disaster response, and mobile GIS workflows, allowing users to work without an internet connection.

    🛠️ How to Download Map Tiles for Offline Use:

    1️⃣ Choose a Tile Layer for Offline Use 🌍📌 Ensure the web tile or vector tile layer supports tile export before downloading. Only layers configured for offline use can be taken offline.

    2️⃣ Define the Download Area and Zoom Level 🎯📏 Select the target layer, then specify the extent by dragging the handles on the map or manually entering coordinates. Adjust the Max Download Level to control the resolution and file size—higher levels provide more detail but require more storage.

    3️⃣ Download and Use Offline 📥🚀 Set the download path and click Download Map Tiles to save the layer. Enable Auto Add to TOC Once Exported to have the tiles automatically appear in the Table of Contents for easy access. Once downloaded, the tiles will be used automatically when offline.

    🚀 Pro Tips:

    1️⃣ Plan Ahead – Download tiles before going offline to ensure uninterrupted access in remote locations. 2️⃣ Balance Detail & Storage – Choose an appropriate Max Download Level to avoid excessive file sizes. 3️⃣ Work Seamlessly with GPS – Combine offline maps with GPS tracking to enhance field navigation.

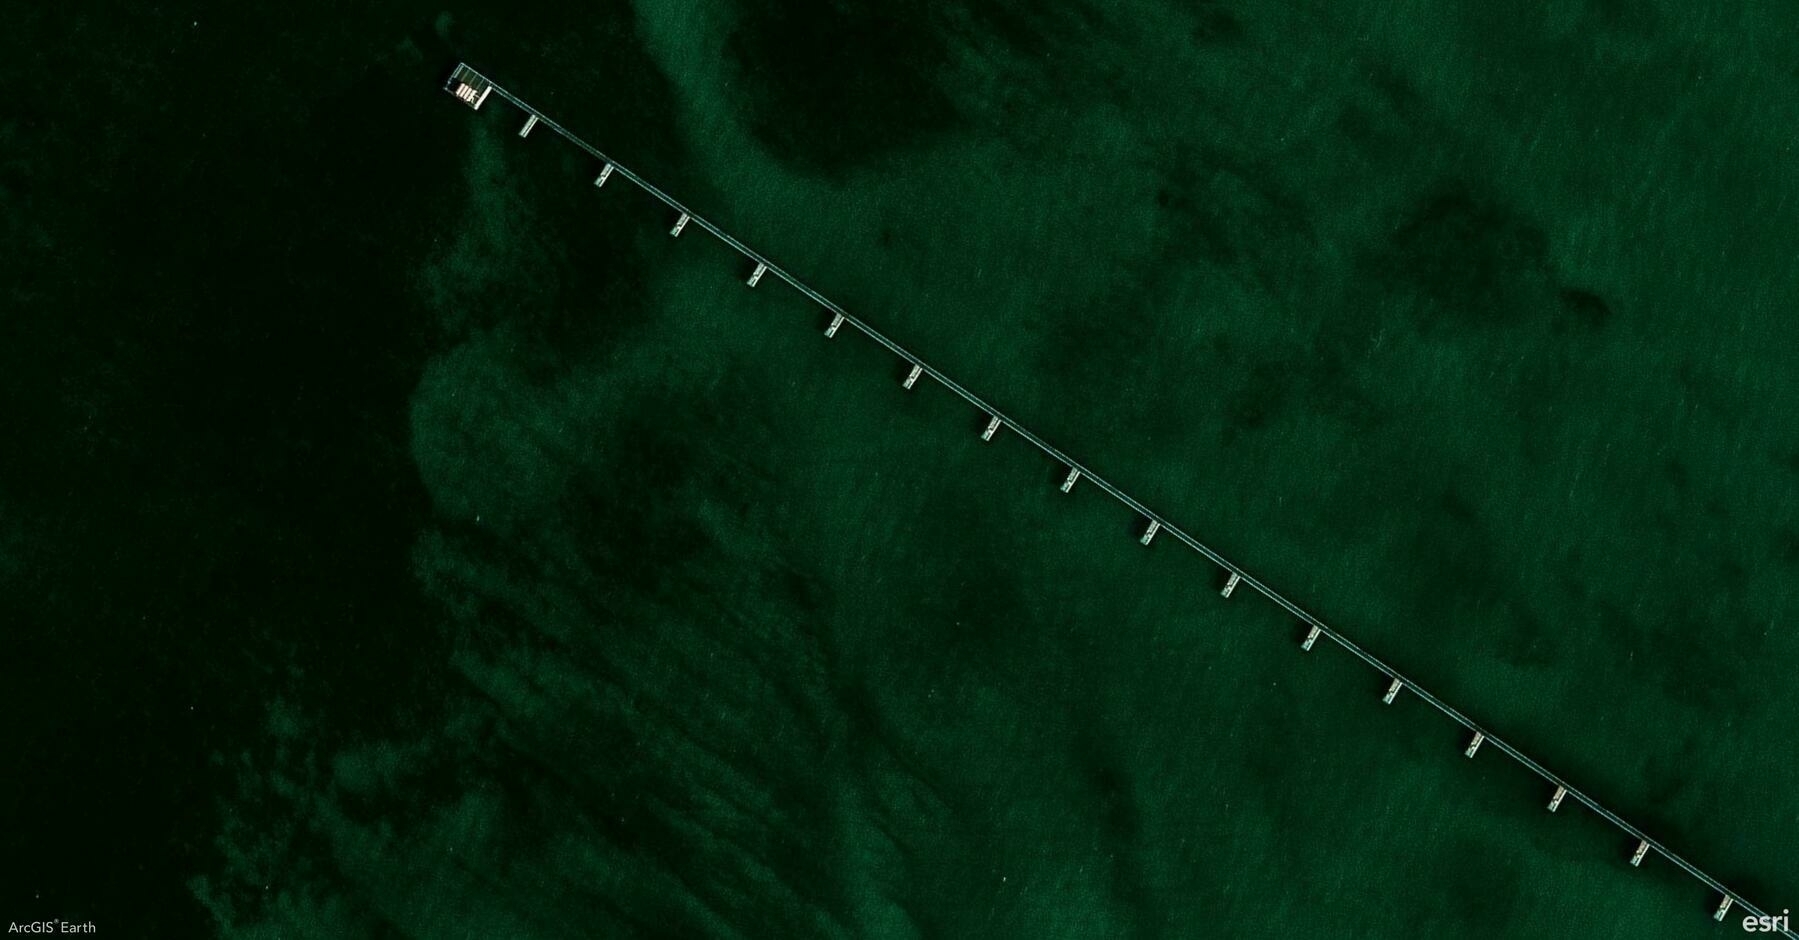
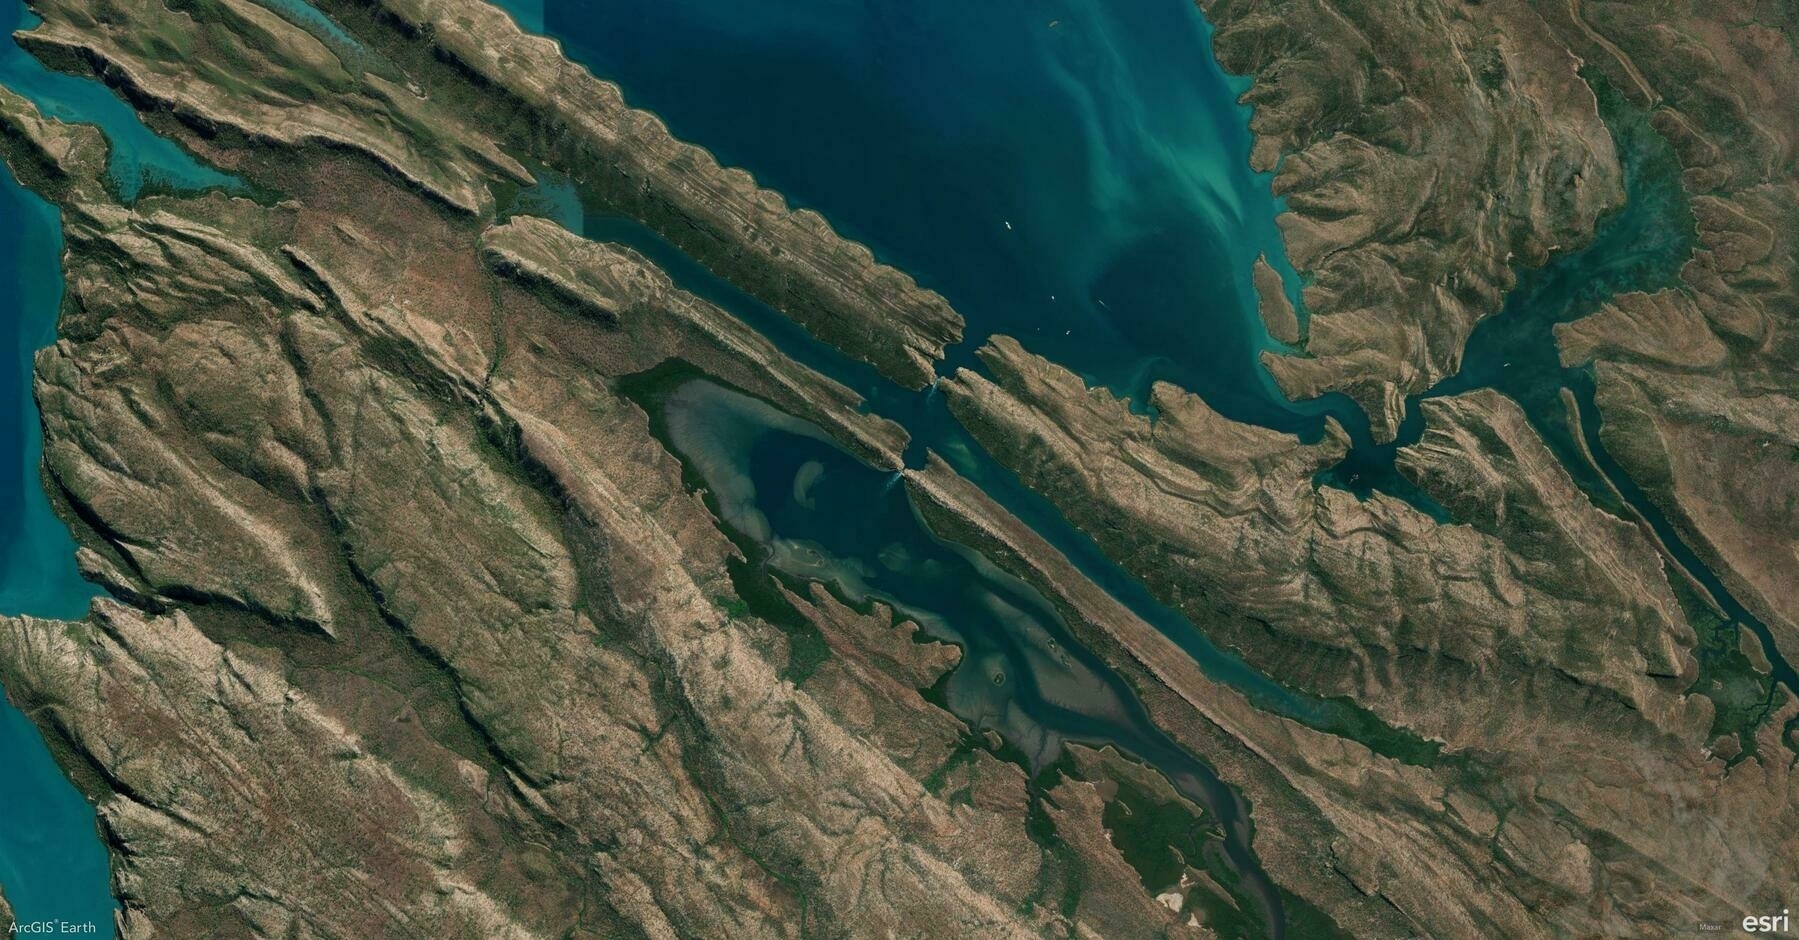
    Screenshot of Ningaloo, Australia, from ArcGIS Earth
    → 7:54 PM, Feb 13
    Also on Bluesky
  • 🌍 #ArcGISEarth230Tips | Tip 16: Seamlessly Integrate ArcGIS Earth with ArcGIS Online & Enterprise 🔗🌐

    Did you know?

    ArcGIS Earth connects directly to ArcGIS Online and ArcGIS Enterprise, giving you seamless access to your organization’s maps, layers, and 3D content. Whether in the field or the office, integrating with your GIS portal streamlines workflows and enhances collaboration.

    🛠️ How to Connect ArcGIS Earth to ArcGIS Online & Enterprise:

    1️⃣ Sign In for Instant Access 🔑🌍 Click Sign In and enter your ArcGIS Online or Enterprise credentials to unlock web maps, feature services, and 3D scene layers—no manual file imports needed.

    2️⃣ Browse and Add Your Organization’s Data 📂🔎 Explore hosted feature layers, tiled basemaps, and 3D scenes from your portal. With just a few clicks, you can integrate authoritative GIS data directly into ArcGIS Earth and visualize it in 3D space.

    3️⃣ Share Your Work Back to the Portal 📤✨ Export projects as KMZ files and upload them to ArcGIS Online or Enterprise, ensuring your team can access the latest updates across ArcGIS Earth, ArcGIS Pro, and Web GIS applications.

    🚀 Pro Tips:

    1️⃣ Choose the Right Authentication – ArcGIS Earth supports multiple authentication options, including Built-in, IWA, PKI, SAML, and Kerberos security. 2️⃣ Manage Multiple Portals – Use Portal Manager to add, switch, or remove ArcGIS Online and ArcGIS Enterprise connections with ease. 3️⃣ Sign In via Web Browser – ArcGIS Earth allows browser-based authentication, providing an alternative to direct login methods for added flexibility.

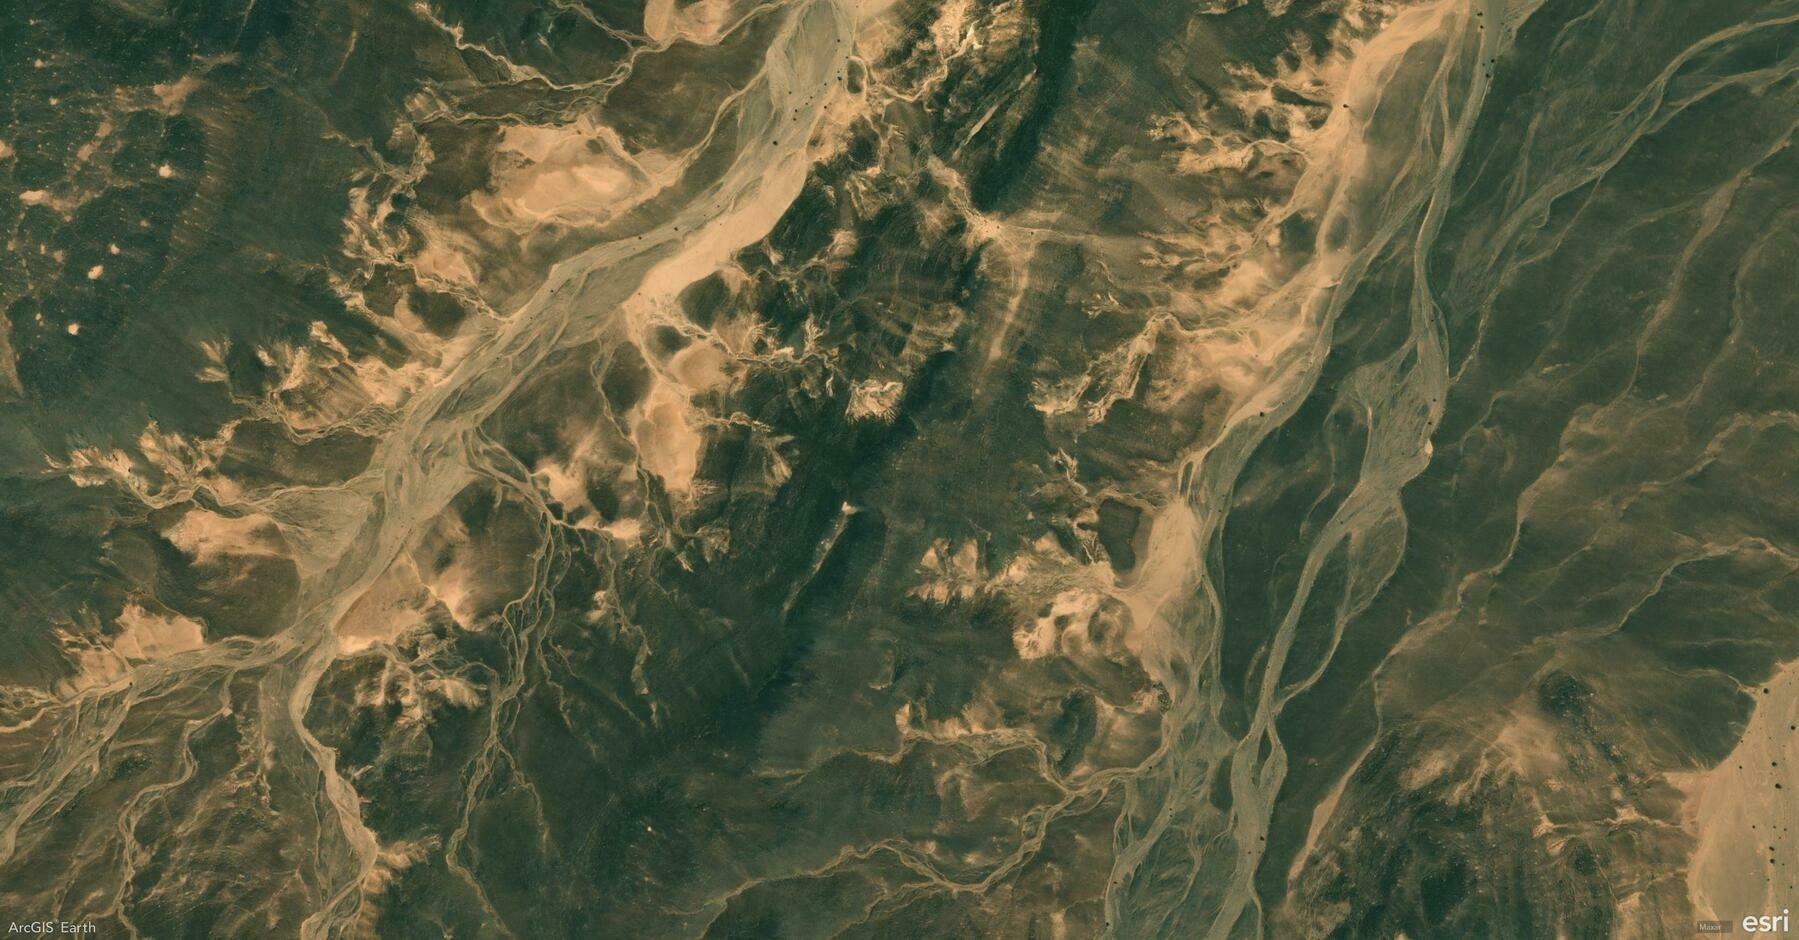
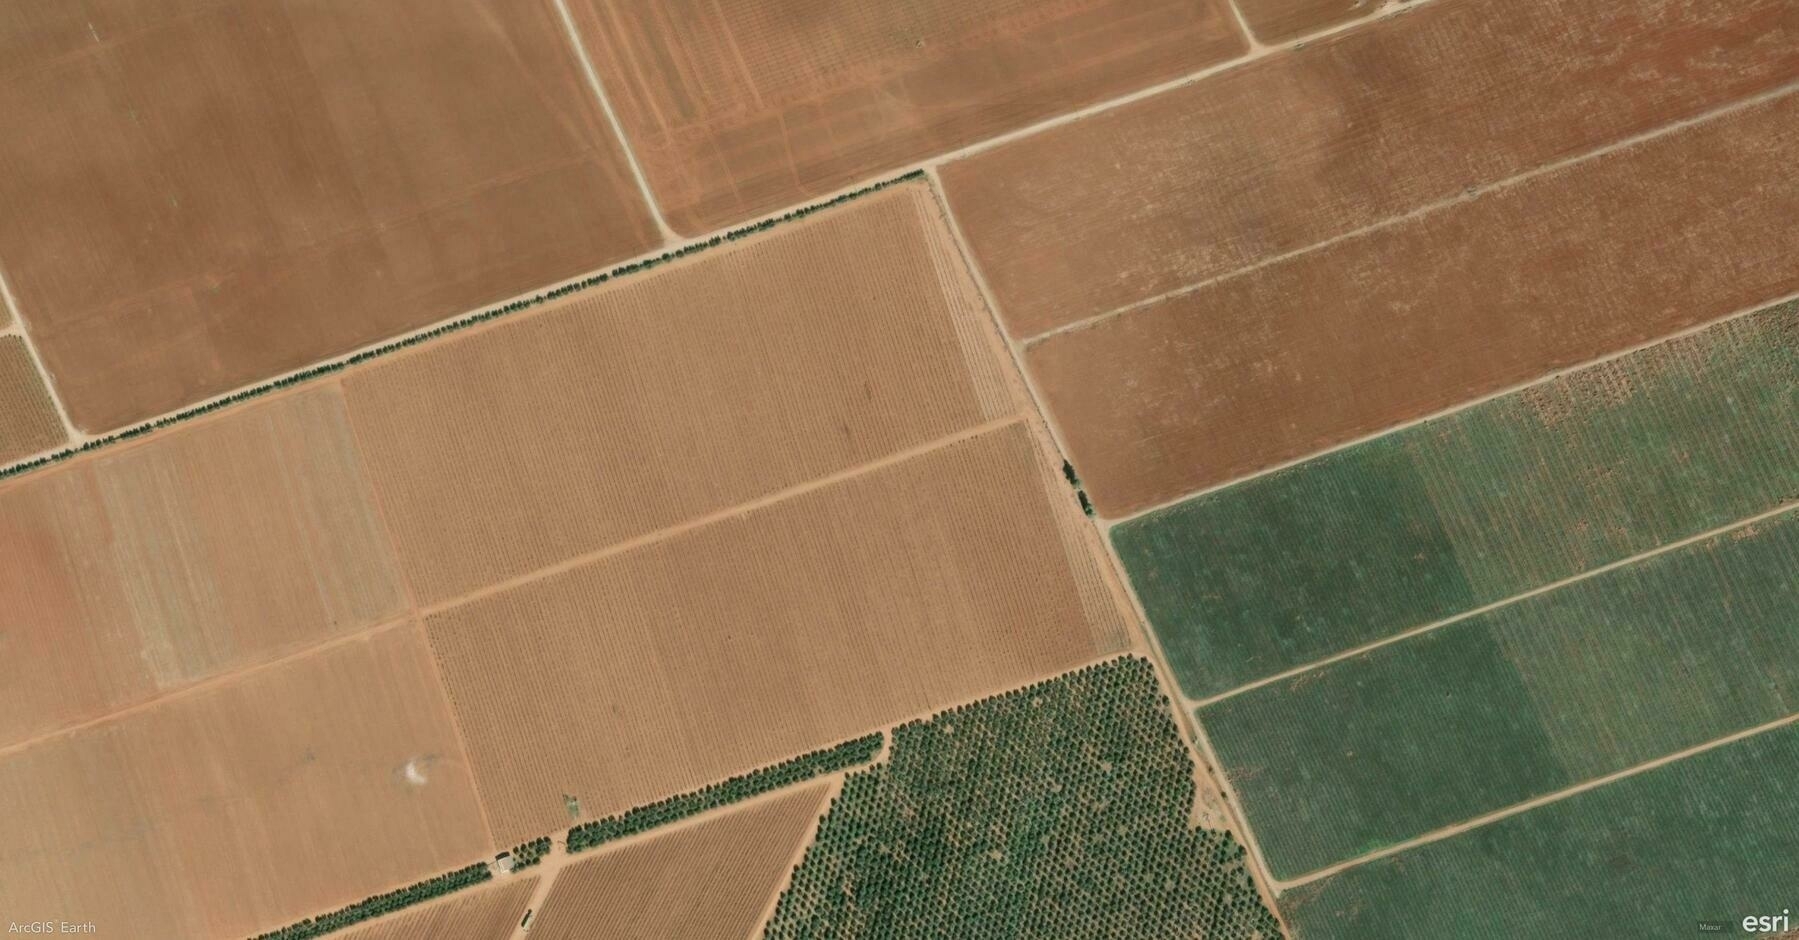
    Screenshot of Jufra District, Libya, from ArcGIS Earth
    → 9:25 PM, Feb 12
    Also on Bluesky
  • 🌍 #ArcGISEarth230Tips | Tip 15: Simulate Sunlight and Shadows with the Daylight Tool ☀️🌎

    Did you know?

    ArcGIS Earth’s Daylight Tool lets you visualize sunlight and shadow movement across any location at different times of the day and year. Whether you’re analyzing building shadows, planning solar energy installations, or assessing seasonal daylight impact, this tool brings a new level of realism and insight to your 3D scene.

    🛠️ How to Use the Daylight Tool for Advanced Analysis:

    1️⃣ Simulate Sunlight at Any Time & Date 🌞⏳ Activate the Daylight Effect and use the time slider or calendar selector to observe how the sun’s position changes throughout the day and across seasons. This is crucial for urban development, solar potential studies, and landscape design.

    2️⃣ Animate Sunlight to Show Changes Over Time 🌅🎥 Enable Animate Sunlight and Shadows to visualize daily or yearly cycles. This helps analyze how shadows shift over time, which is key for protecting parks from high-rise shading, ensuring optimal daylight exposure, and improving building placement.

    3️⃣ Fine-Tune Visibility with Shadows and Time Zones ☁️🕰️ Turn on Show Shadows to understand how terrain and structures interact with sunlight. Adjust the time zone for accurate sun positioning worldwide, ensuring reliable analysis for global projects.

    🚀 Pro Tips:

    1️⃣ Use daylight animation to create seasonal shadow impact studies for urban planning. 2️⃣ Bookmark specific daylight settings to compare sun angles across different seasons. 3️⃣ Adjust atmospheric effects for more realistic lighting and shading.

    Screenshot of No.2 Karmi, India, from ArcGIS Earth
    → 10:36 PM, Feb 11
    Also on Bluesky
  • 🌍 #ArcGISEarth230Tips | Tip 14: Unlock the Hidden World with Underground Mode ⛏️🌎

    Did you know?

    ArcGIS Earth’s Underground Mode allows you to explore and analyze subsurface environments, helping you visualize tunnels, mines, pipelines, and geological formations with ease. Whether for mining safety, utility inspections, or subterranean navigation, this tool provides a new dimension to GIS mapping.

    🛠️ How to Use Underground Mode for Visualization & Analysis:

    1️⃣ Navigate Seamlessly Below the Surface 🔍

    Activate Underground Mode to make the terrain transparent and reveal subsurface features like abandoned mines, underground utilities, and geological structures. Use 3D navigation tools to move through tunnels and passageways as if you were underground.

    2️⃣ Conduct Interactive Subsurface Analysis 👁️

    With tools like Line of Sight, simulate what a miner, engineer, or emergency responder would see within an underground system. Visualizing sightlines in mine shafts, sewer systems, or disaster response zones ensures better situational awareness and safety planning.

    3️⃣ Integrate High-Precision 3D Data for Realism 📡

    Load LIDAR point clouds and 3D scene layers to enhance the accuracy of underground modeling. Detailed underground visualizations assist in mine inspections, structural integrity assessments, and environmental impact evaluations.

    🚀 Pro Tips:

    1️⃣ Adjust Terrain Transparency to balance surface and subsurface visibility.

    2️⃣ Use Elevation Exaggeration to emphasize subtle underground formations.

    3️⃣ Enhance Safety Planning by integrating mine layouts and tunnel blueprints into your scene.

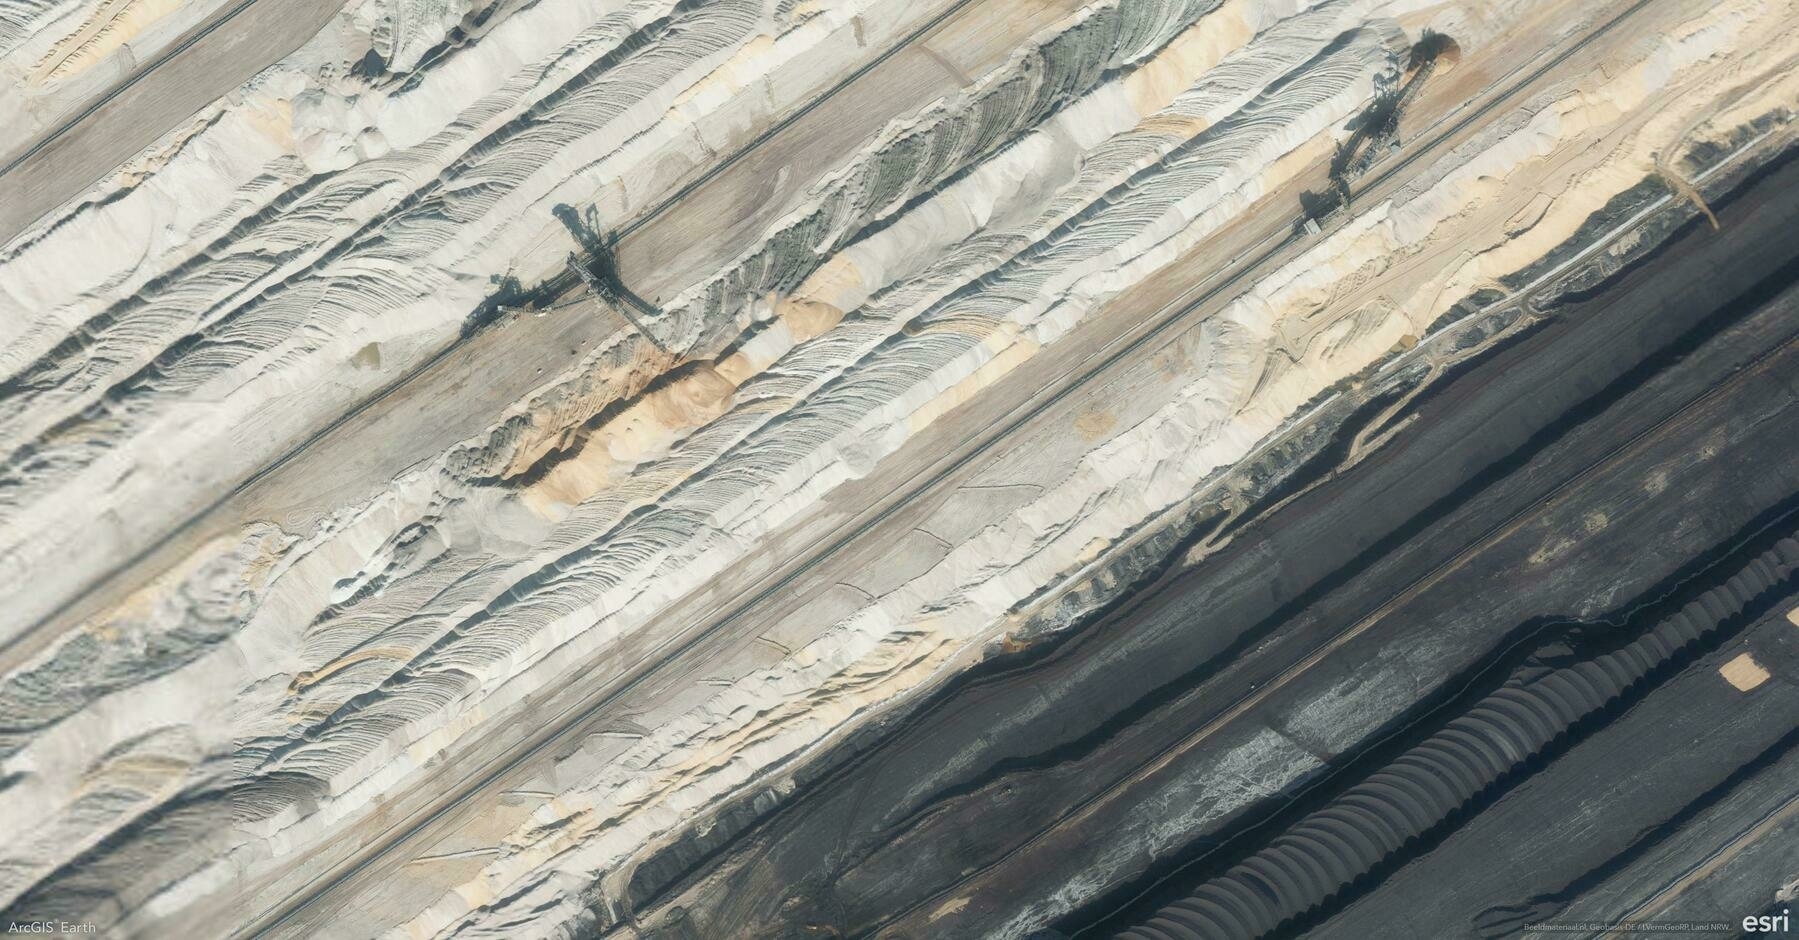
    Screenshot of Laneuveville-devant-Nancy, France, from ArcGIS Earth
    → 10:59 PM, Feb 10
    Also on Bluesky
  • 🌍 #ArcGISEarth230Tips | Tip 13: Export and Share Stunning Map Views 🖼️📤

    Did you know?

    ArcGIS Earth makes it effortless to export and share your current map view as a high-quality image, a professional map layout, or a print-ready file. Whether you’re preparing a presentation, designing a poster, or sharing insights with your team, ArcGIS Earth’s export tools help you deliver visually compelling and informative maps.

    🛠️ How to Export and Share Your Map Views:

    1️⃣ Design a Custom Map Layout 🗺️ Click Export > Create Map Layout to generate a map with your scene view, title, north arrow, and scale bar. Add more context with a legend, descriptive text, images, or dynamic text like scale and coordinates.

    2️⃣ Personalize for Any Purpose ✏️ Adjust the paper size (default A4), orientation (portrait or landscape), and margins. Use Scene Only for a minimalist view or add visual elements for more context. Double-click the scene to zoom, pan, and rotate for the perfect angle.

    3️⃣ Export, Email, or Print Instantly 📤 Once complete, choose to: Export as Image for reports or presentations. Email the current view directly as an attachment. Print for meetings, displays, or field use.

    🚀 Pro Tips:

    1️⃣ Custom Branding: Insert local images or your company logo for a branded, professional touch.

    2️⃣ Fine-Tune Your View: Double-click the scene in the layout to adjust the camera view before exporting.

    Screenshot of Elsdorf, Germany, from ArcGIS Earth
    → 10:23 PM, Jan 17
    Also on Bluesky
  • 🌍 #ArcGISEarth230Tips | Tip 12: See Beyond with the Viewshed Analysis Tool 🔭🌄

    Did you know?

    ArcGIS Earth’s Viewshed Analysis tool allows you to visualize what areas are visible or hidden from a specific location. This powerful feature helps you assess line-of-sight coverage, making it essential for urban planning, security assessments, and infrastructure development.

    🛠️ How to Maximize the Viewshed Tool:

    Set an observer point anywhere on the map, and ArcGIS Earth will instantly generate a viewshed area, highlighting visible regions in green and obstructed areas in red. Easily adjust the observer’s height, viewing angle, and distance range to analyze how terrain, buildings, or other obstacles impact visibility. This tool is perfect for evaluating the placement of security cameras, communication towers, or scenic viewpoints.

    🚀 Pro Tips:

    1️⃣ Adjust Observer Height: Increase the observer’s elevation to analyze visibility from elevated structures like towers or rooftops.

    2️⃣ Customize Viewing Angle: Narrow or widen the viewing angle to focus on specific areas or broaden the analysis.

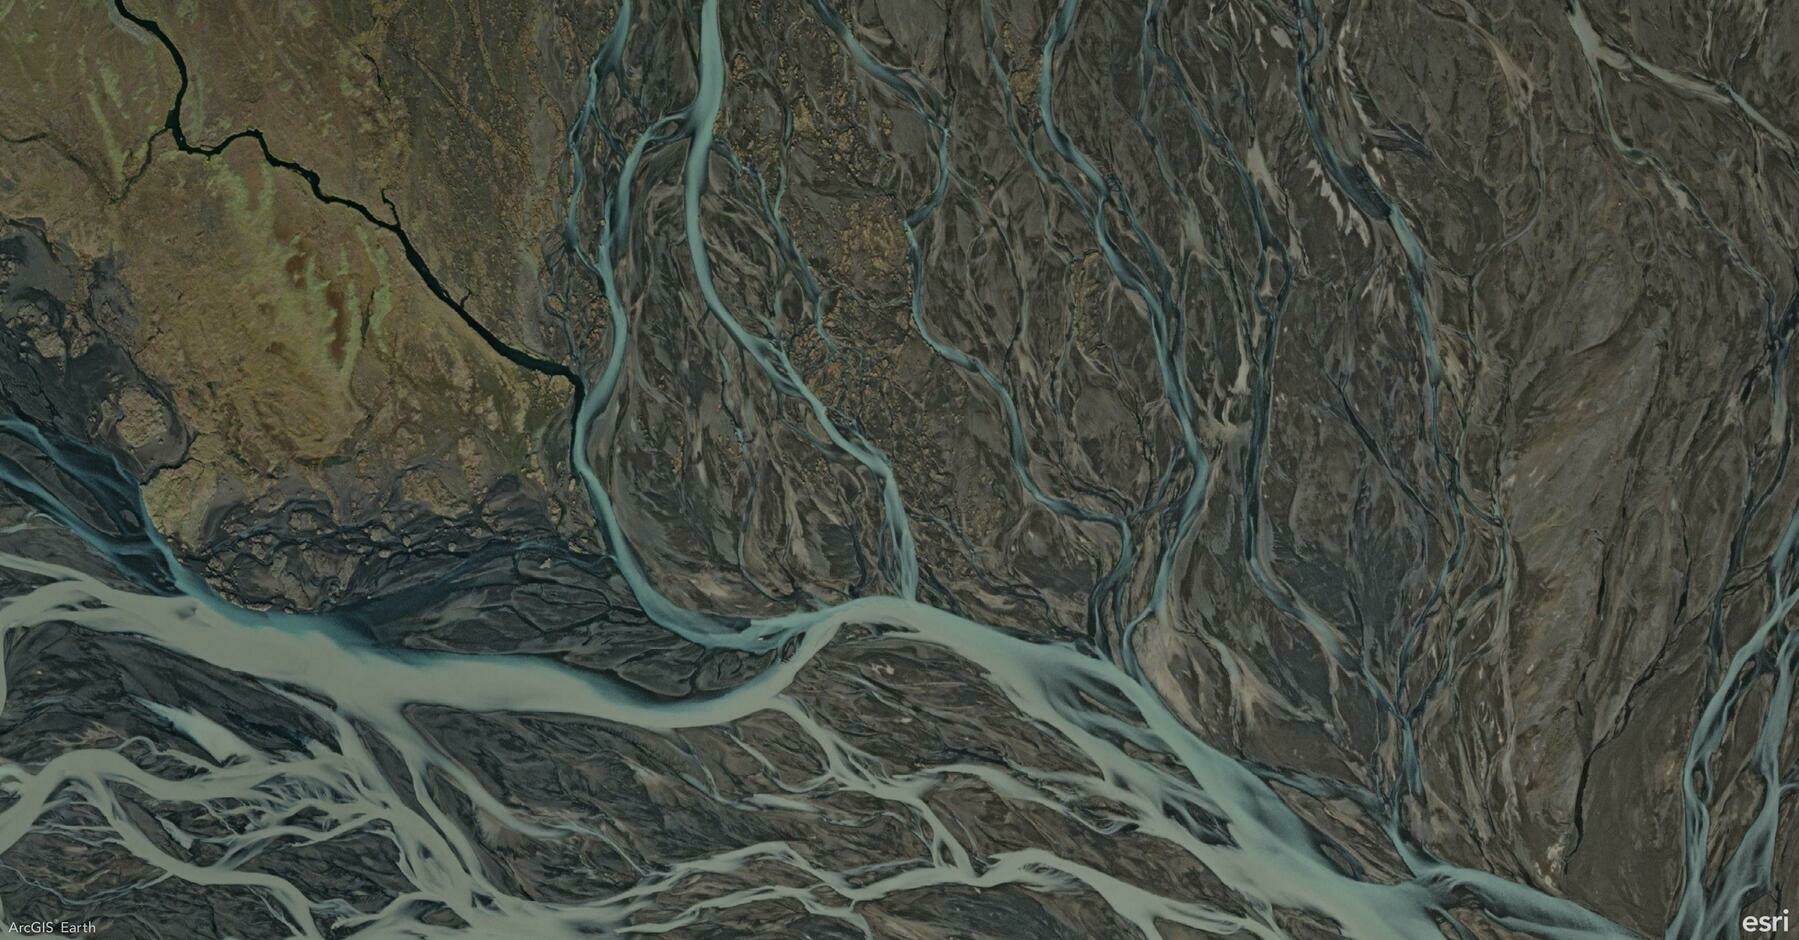
    Screenshot of Southern Region, Iceland, from ArcGIS Earth
    → 9:50 PM, Jan 16
    Also on Bluesky
  • 🌍 #ArcGISEarth230Tips | Tip 11: Master Visibility Analysis with the Line of Sight Tool 👁️📏

    Did you know?

    ArcGIS Earth’s Line of Sight tool allows you to instantly analyze visibility between an observer and one or more target points. This dynamic tool helps you evaluate clear and obstructed views in both 2D and 3D scenes, making it essential for security planning, infrastructure design, and environmental analysis.

    🛠️ 2 Powerful Ways to Use the Line of Sight Tool:

    1️⃣ From Point: Analyze Static Views📍

    Quickly analyze visibility by clicking to set the observer and target points. Green lines show clear views, and red lines highlight obstructions. Drag points or edit coordinates for precision—ideal for planning camera placements, communication towers, or observation decks.

    2️⃣ Animation: Simulate Moving Perspectives🚗✈️

    Take visibility analysis to the next level by creating an animated line of sight. Set a moving observer along a path—like a vehicle route or a drone flight path—and analyze how visibility changes in motion. You can select predefined vehicle or aircraft models or upload custom 3D models to reflect real-world scenarios. Adjust the animation speed, model offsets, and color schemes to fine-tune your analysis. This is ideal for assessing traffic surveillance, patrol routes, or aerial monitoring.

    🚀 Pro Tips:

    1️⃣ Terrain Precision: Press T while placing points to snap them to the terrain surface for more accurate results.

    2️⃣ Observer Perspective: Use the Apply Camera button to match the scene view with the observer’s position for a realistic perspective.

    Screenshot of Baja California, Mexico, from ArcGIS Earth
    → 10:12 PM, Jan 15
    Also on Bluesky
  • 🌍 #ArcGISEarth230Tips | Tip 10: Analyze Terrain with the Elevation Profile Tool 📈⛰️

    Did you know? ArcGIS Earth’s Elevation Profile tool allows you to visualize elevation changes along any path, offering valuable insights for terrain analysis, route planning, and risk assessment. You can easily generate interactive profiles from drawn lines, KML paths, or by using the Measure tool, making it a powerful feature for both analysis and presentation.

    🛠️ 3 Powerful Ways to Maximize the Elevation Profile Tool:

    1️⃣ Visualize Terrain Changes in Real-Time 🌄 Quickly generate an elevation profile by sketching a path or right-clicking an existing drawing line or KML line and selecting Elevation Profile. Instantly see how terrain rises and falls, making this perfect for planning hiking trails, infrastructure routes, or assessing construction sites.

    2️⃣ Analyze Elevation and Slope Metrics 📊 Gain immediate insights with detailed metrics like minimum, average, and maximum elevation, total elevation gain/loss, and slope percentages. This data is essential for identifying high-risk landslide zones, optimizing transportation routes, or evaluating flood-prone areas.

    3️⃣ Interact with and Share Profiles 🖱️🖼️ Hover over the profile to check exact elevation, distance, and slope data or double-click to zoom directly to any point on the map. Easily export the profile as an image for reports or presentations, making it ideal for sharing insights with stakeholders and improving decision-making.

    🚀 Pro Tips:

    1️⃣ Flip Direction: Reverse the profile path for new insights using the Flip Direction tool.

    2️⃣ Spacebar Lock: Press the Spacebar to lock onto specific points for precise elevation and slope readings.

    3️⃣ Mobile to Desktop Integration: Record routes with GPS tracking on mobile and analyze elevation profiles on desktop for deeper insights.

    Screenshot of Doha, Qatar, from ArcGIS Earth
    → 9:16 PM, Jan 14
    Also on Bluesky
  • 🌍 #ArcGISEarth230Tips | Tip 9: Enhance Visualization with Atmosphere and Terrain Effects 🌄🌫️

    Did you know?

    ArcGIS Earth allows you to elevate your 3D visualizations with Atmosphere Effects and Terrain Exaggeration. These tools can bring your data to life by adding depth, realism, and emphasis to landscapes and terrain analysis.

    🛠️ 2 Powerful Ways to Boost Your 3D Visualization:

    1️⃣ Add Realism with Atmosphere Effects 🌫️ Switch between None, Horizon Only, and Realistic atmosphere settings to control haze and depth in your scene.

    2️⃣ Amplify Terrain with Exaggeration ⛰️ Adjust the terrain scale from 0–100, or up to 1,000 with admin configuration, to highlight geological features, flood risks, or urban developments.

    🚀 Pro Tip:

    Pair atmosphere effects with terrain exaggeration to create stunning visuals that resemble a Chinese landscape painting, blending subtle depth and dramatic elevation for both artistic and analytical impact.

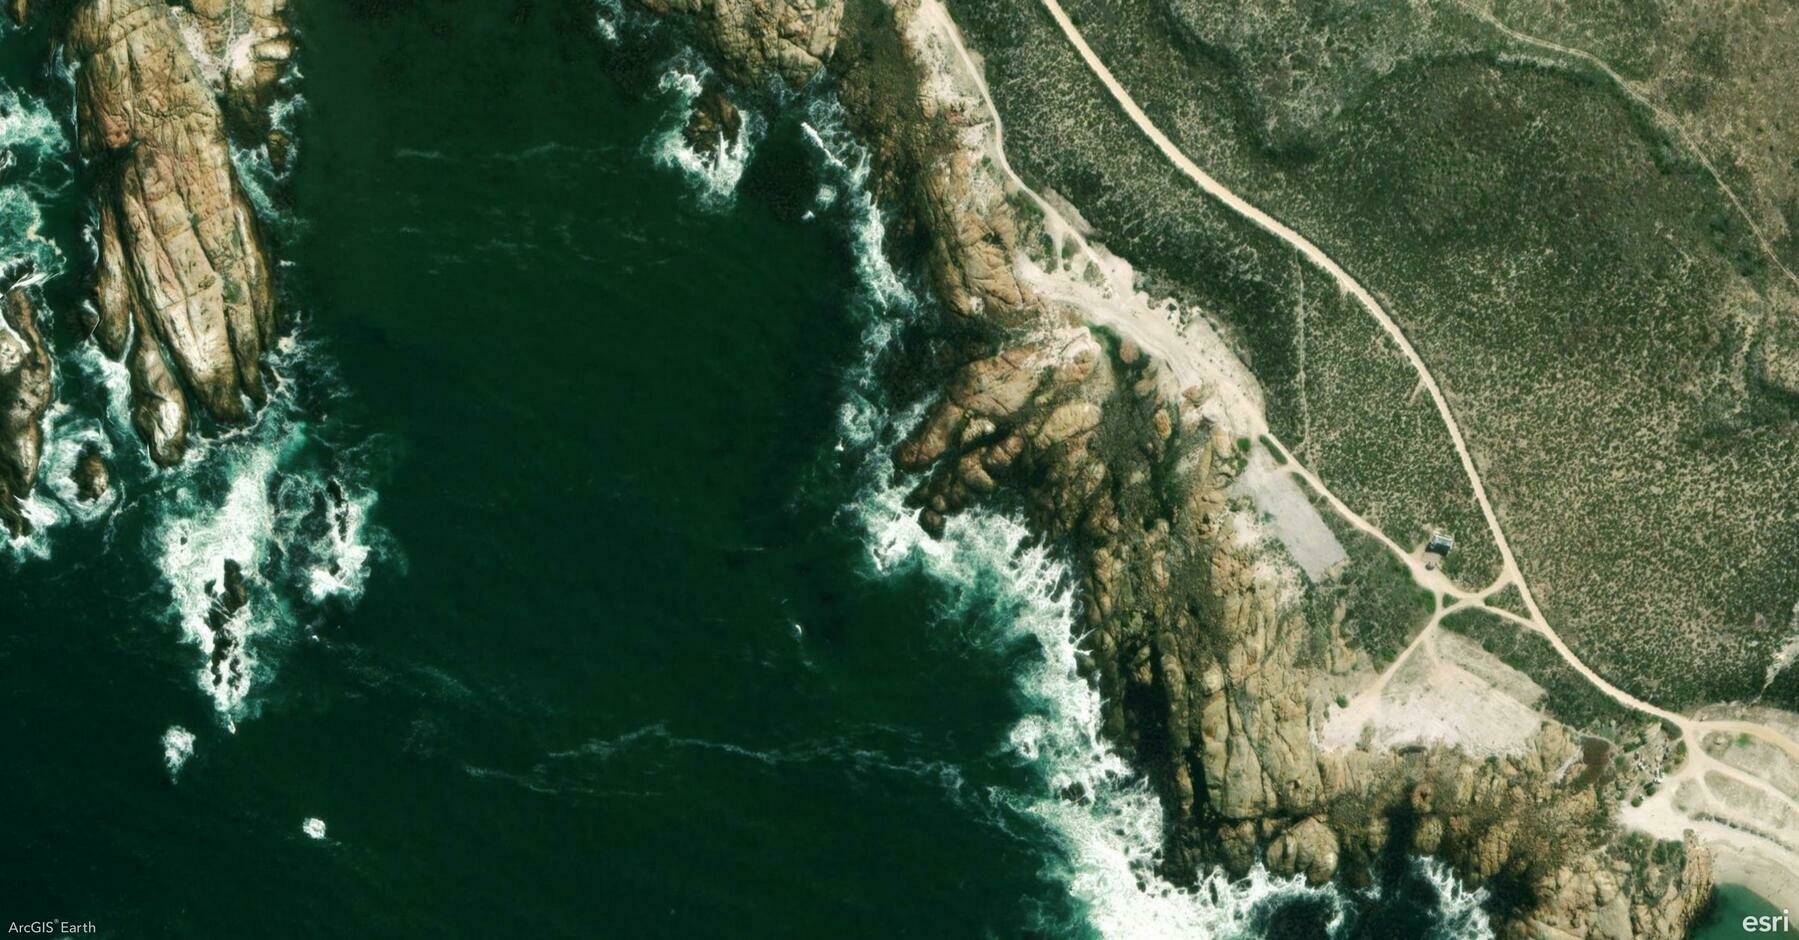
    Screenshot of West Coast Peninsula, South Africa, from ArcGIS Earth
    → 10:48 PM, Jan 13
    Also on Bluesky
  • 🌍 #ArcGISEarth230Tips | Tip 8: Tell Interactive Stories with Smart Bookmarks 📍🔖

    Did you know that in ArcGIS Earth, bookmarks do more than save locations—they let you craft interactive, dynamic stories? By capturing specific views and scene settings, you can seamlessly revisit important locations or create stunning visual tours for presentations and analysis.

    🛠️ 4 Creative Ways to Use Bookmarks in ArcGIS Earth:

    1️⃣ Capture and Revisit Detailed Scenes 🎯 Bookmarks save more than just a location—they capture the entire scene, including camera position, basemaps, layer visibility, and daylight settings. Instantly return to complex views, like tracking a hurricane’s path over several days or revisiting key project stages.

    2️⃣ Organize Workflows with Bookmark Groups 🗂️ Keep your projects structured by grouping bookmarks into categories based on project phases, regions, or themes. This makes navigating between analysis stages or geographic areas effortless.

    3️⃣ Create Engaging Bookmark Presentations 🎬 Transform a sequence of bookmarks into an automated presentation that guides viewers through your data. Customize transitions, playback speed, and add descriptive pop-ups to tell a compelling, interactive story.

    4️⃣ Export and Share Your Story 🌍 Export bookmark groups as KMZ files or images to easily share your maps with collaborators. You can even convert bookmarks into movies for polished, impactful storytelling.

    🚀 Pro Tips:

    1️⃣ Drag & Drop: Reorder bookmarks by simply dragging them to create smooth, logical tours.

    2️⃣ Add Visuals: Customize each bookmark with images and descriptions to highlight critical insights.

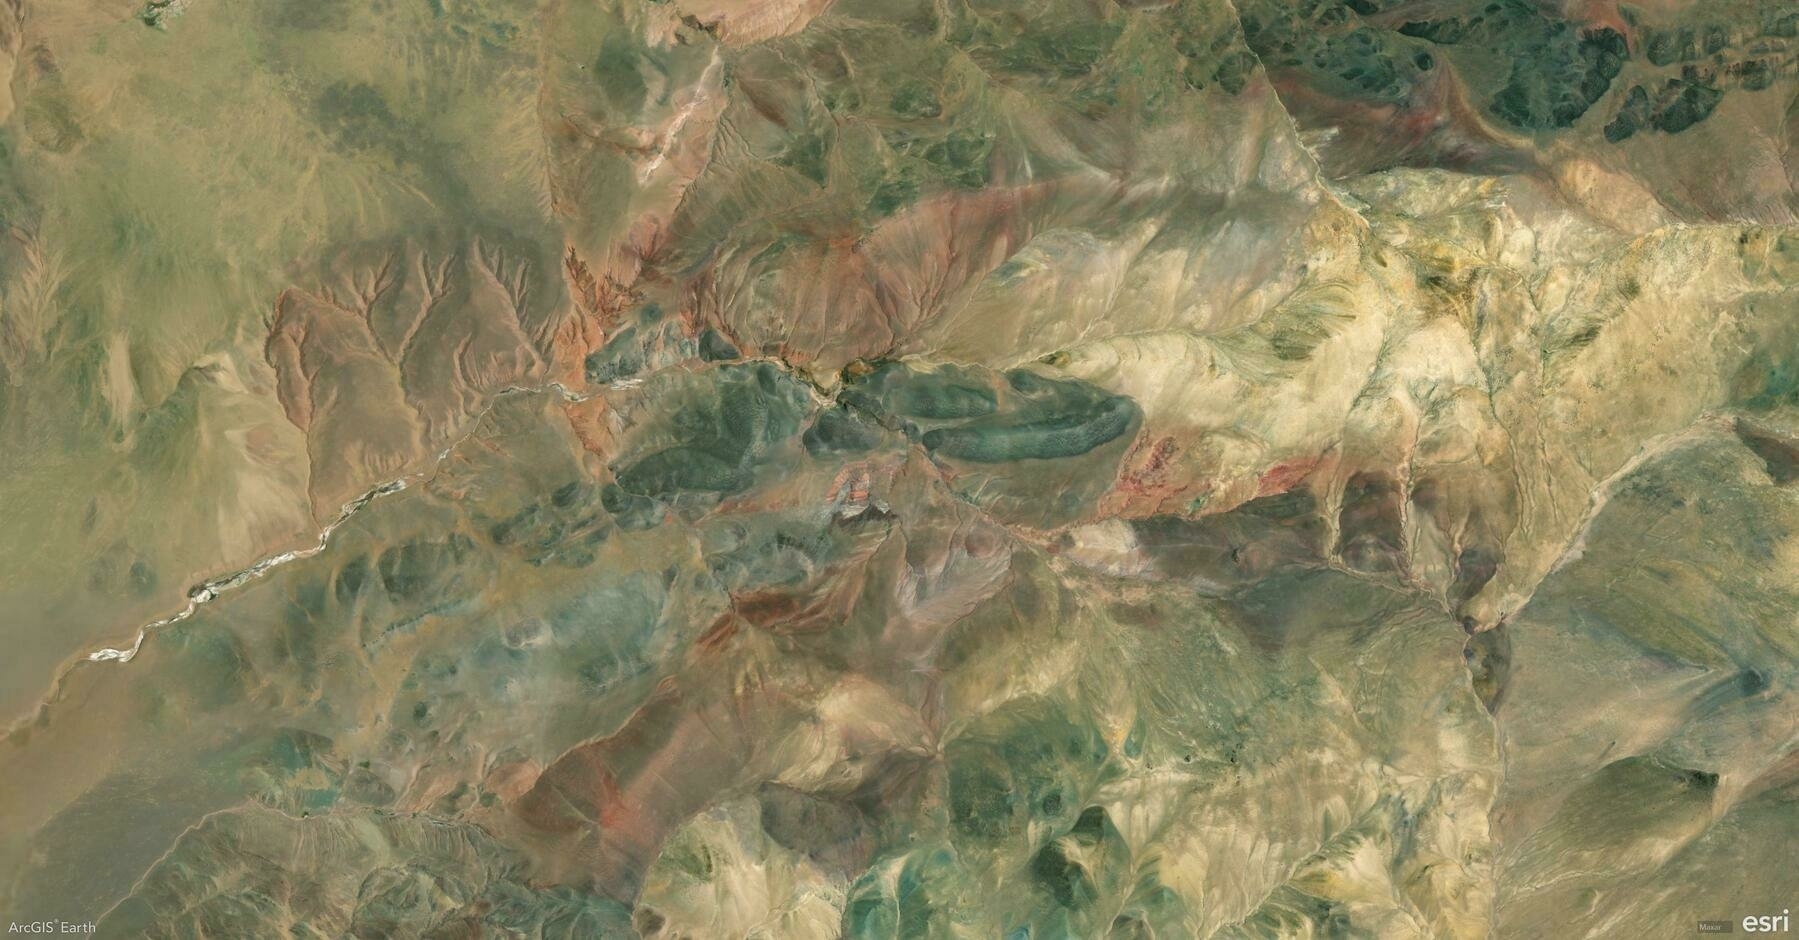
    Screenshot of Ngari, China, from ArcGIS Earth
    → 10:10 PM, Jan 10
    Also on Bluesky
  • 🌍 #ArcGISEarth230Tips | Tip 7: Find Locations Anywhere in ArcGIS Earth: From Addresses to Offline Coordinates 🔍📍

    Did you know that ArcGIS Earth’s Search tool enables you quickly locate places, addresses, and coordinates anywhere in the world? Powered by Esri’s World Geocoding services, your organization’s custom geocoding services, or the built-in XY provider for offline environments, this tool ensures you can always find what you need—online or offline.

    🛠️ 3 Ways to Maximize the Search Tool:

    1️⃣ Search by Place or Address 📍 Quickly locate a city, landmark, street address, or even a country by entering it into the search bar. ArcGIS Earth automatically adjusts the extent, ensuring that the view is properly zoomed. For tailored results, use your organization’s geocoding services or access global data through Esri’s World Geocoding Services.

    2️⃣ Search by Coordinates 🌐 Find precise locations by inputting latitude/longitude, MGRS (Military Grid Reference System), or UTM (Universal Transverse Mercator) values. ArcGIS Earth’s built-in XY provider ensures smooth coordinate searches, even offline.

    3️⃣ Save and Revisit Search Results 💾 Save search results as drawings to revisit key locations quickly. This is ideal for managing project sites or organizing fieldwork locations for seamless navigation.

    ⚡ Pro Tip: Use locators from Mobile Scene Packages (MSPK) for offline geocoding, adding extra flexibility to your project workflows.

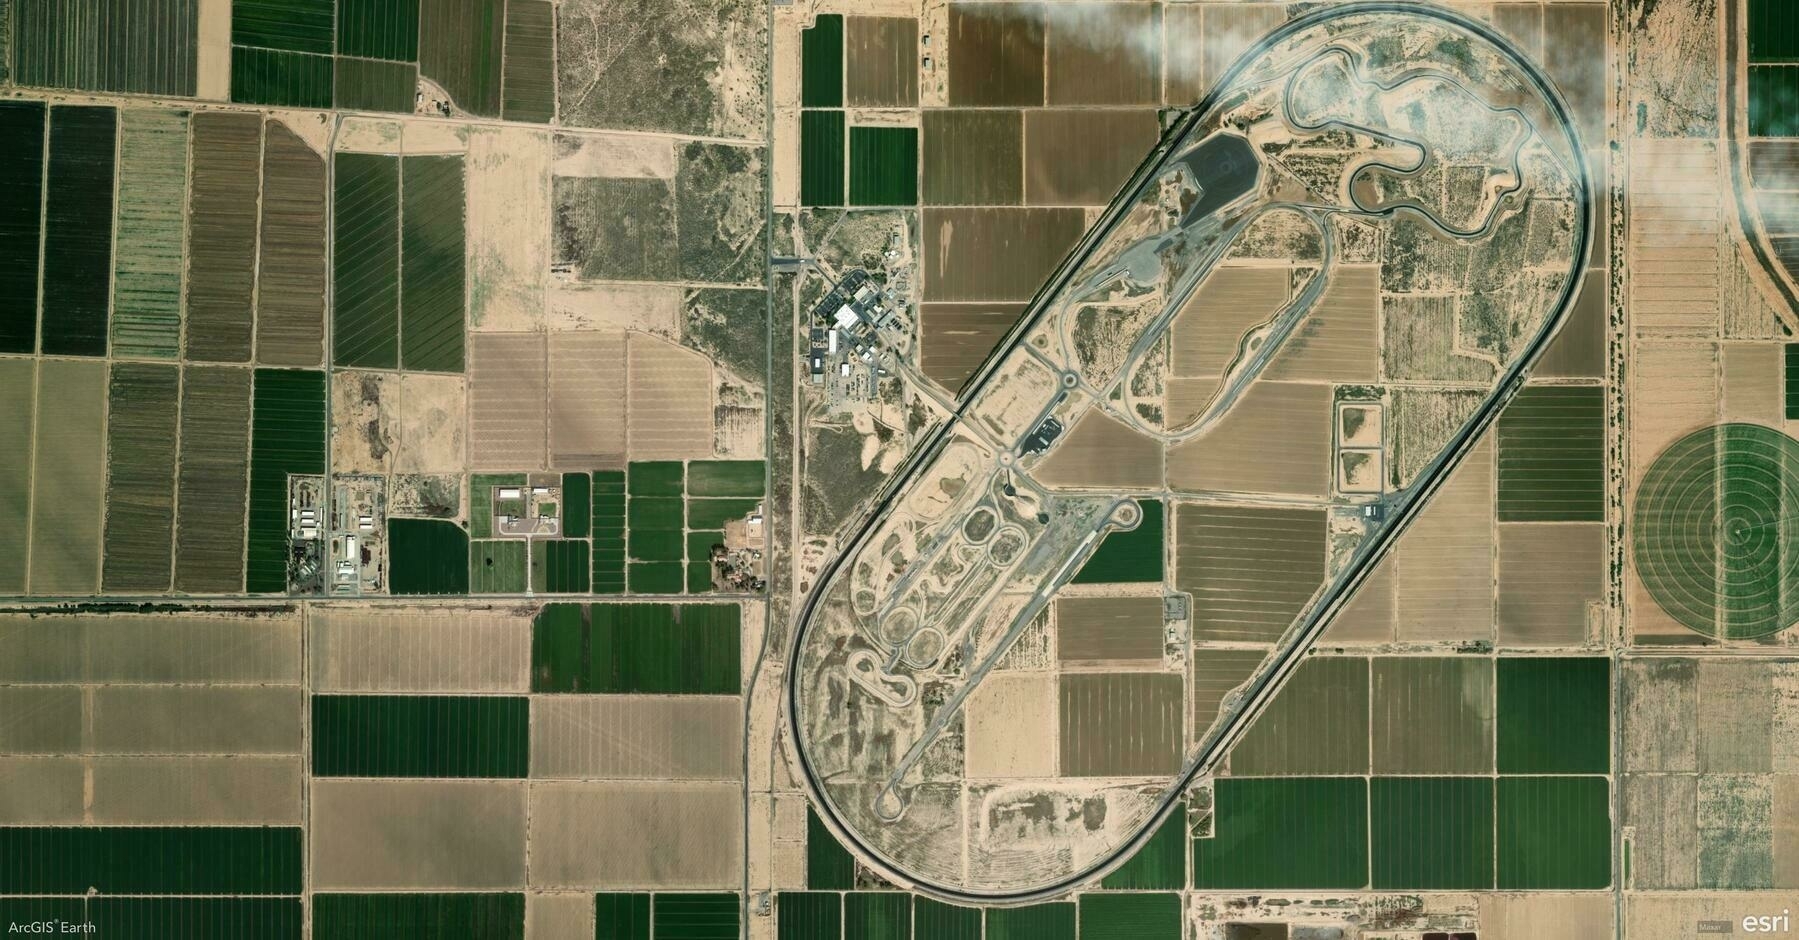
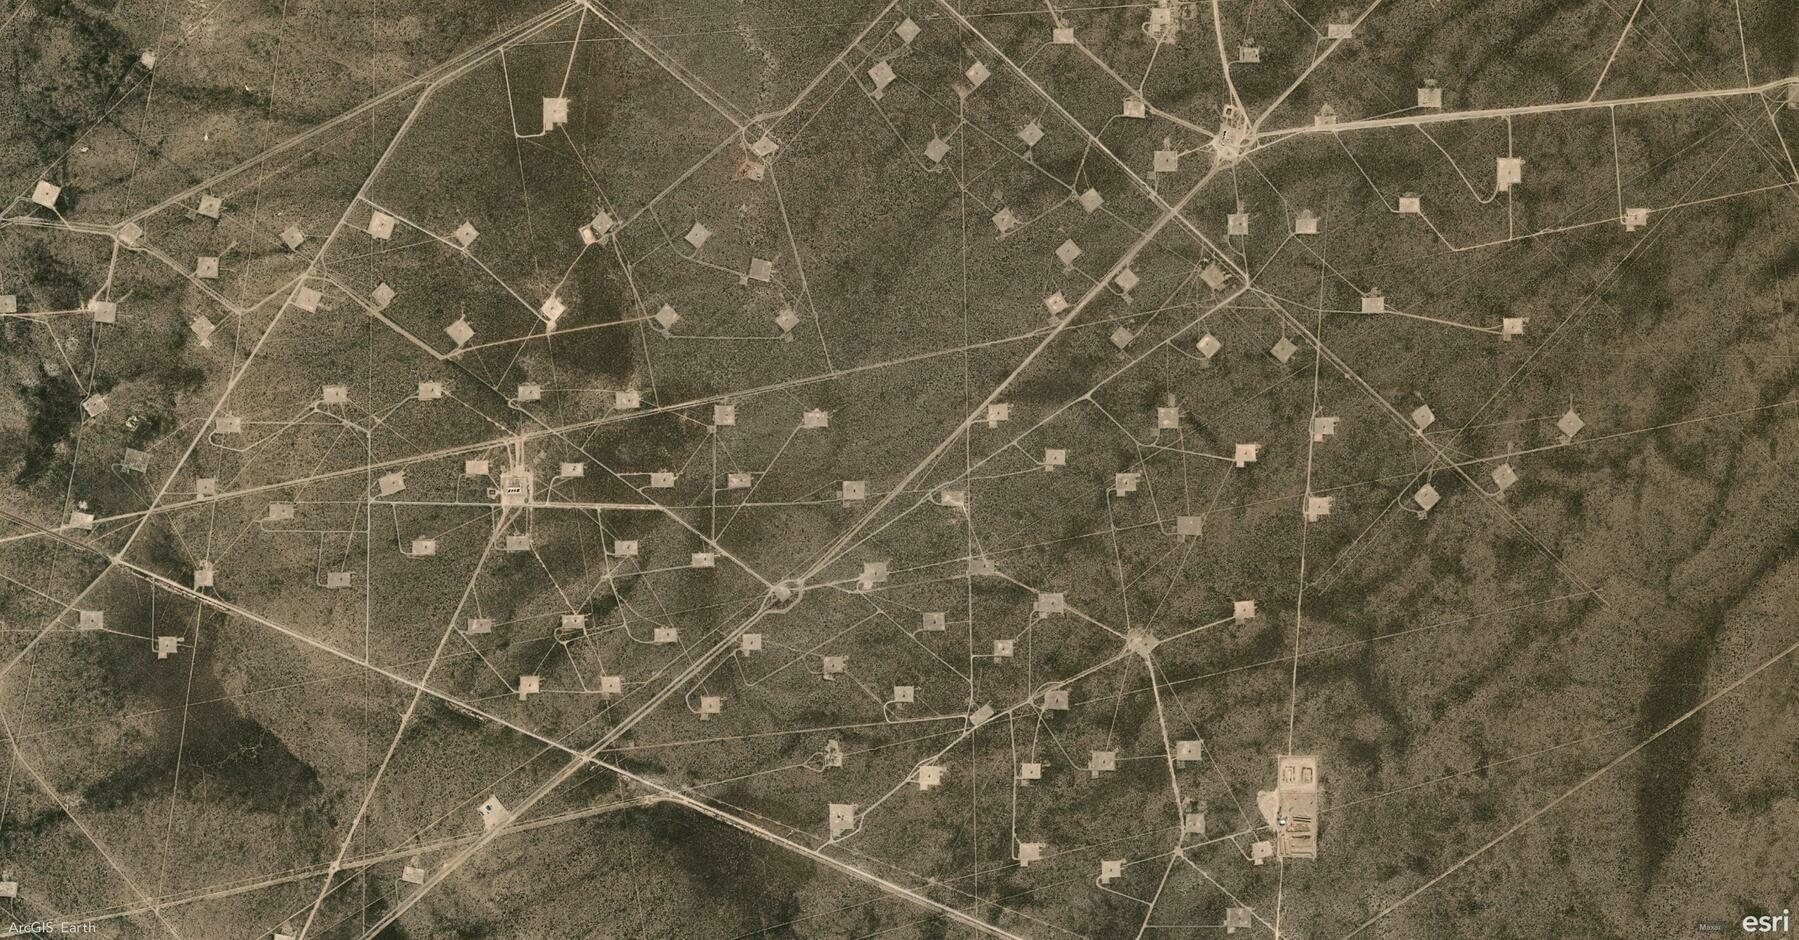
    Screenshot of Maricopa, United States, from ArcGIS Earth
    → 8:51 PM, Jan 9
    Also on Bluesky
  • 🌍 #ArcGISEarth230Tips | Tip 6: Master Basemaps and Terrain for Enhanced Spatial Context 🗺️🌄

    Did you know that in ArcGIS Earth, basemaps and terrain layers are more than just visual backdrops? They’re powerful tools for adding context, clarity, and insight to your geospatial data. Whether sourced from ArcGIS Online, your organization’s ArcGIS Enterprise, or your own custom data, you have full control over your map’s foundation.

    🛠️ 3 Ways to Elevate Your Map with Basemaps & Terrain:

    1️⃣ Choose the Perfect Basemap 🗺️ Select from imagery, topographic, streets, or hybrid basemaps to match your project’s needs.

    2️⃣ Enable Realistic Terrain 🌄 Enhance your 3D views with detailed terrain layers that bring elevation and topography to life.

    3️⃣ Use Personalized Basemaps & Terrain 📂 Go beyond default options by adding your own data as a custom basemap or terrain, tailoring your visualizations to project-specific needs.

    🚀 Pro Tips:

    1️⃣ Merge Local Rasters for Terrain: Add multiple local elevation rasters at once—ArcGIS Earth will automatically merge them into a unified terrain layer.

    2️⃣ Layer Order Matters: Multiple elevation sources can overlap, and their order defines the final elevation surface.

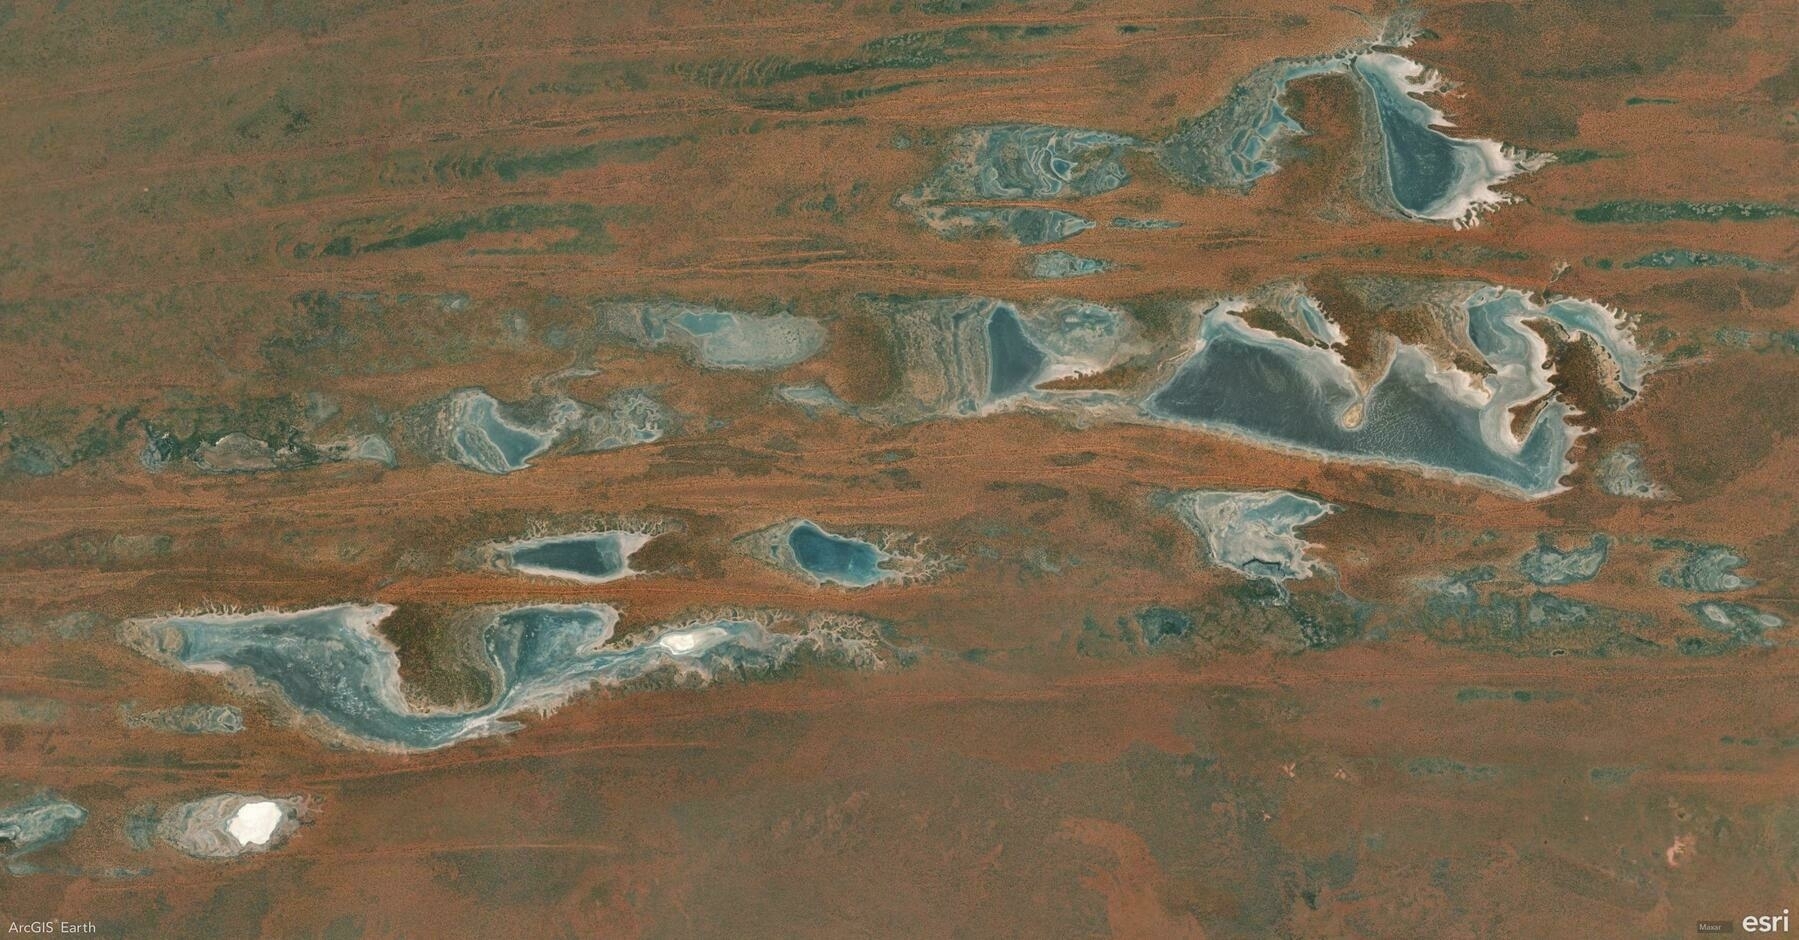
    Screenshot of Tanami, Australia, from ArcGIS Earth
    → 8:46 PM, Jan 8
    Also on Bluesky
  • 🌍 #ArcGISEarth230Tips | Tip 5: Measure Anything, From Points to Polygons, in 2D & 3D 📐

    Did you know ArcGIS Earth’s measurement tools allow you to measure everything from points and lines to complex polygons—in both 2D and 3D environments? Whether it’s measuring the length of a road, the area of a park, or the height of a building, ArcGIS Earth has you covered.

    🛠️ Key Measurement Options in ArcGIS Earth:

    1️⃣ Point-to-Point Measurement: 📍 Measure straight-line distances between two specific points—perfect for route planning or quick estimations.

    2️⃣ Path & Multi-Segment Distance: 🛤️ Draw multi-segment lines to measure complex paths with accurate total distances and segment-by-segment breakdowns.

    3️⃣ Area Measurement: 🛑⭕ Draw polygons to calculate surface area for zoning, land-use planning, and site assessments, or create circles with defined radii for buffer zones and proximity analysis.

    4️⃣ 3D Object Measurement: 🏢 Take advantage of 3D measurements to analyze building heights, distances between structures, or surface dimensions.

    🚀 Pro Tips:

    1️⃣ Right-Click to Adjust: Right-click to delete the last vertex during measurement.

    2️⃣ Segment Insights: ArcGIS Earth displays distance along each segment directly on the scene for granular clarity.

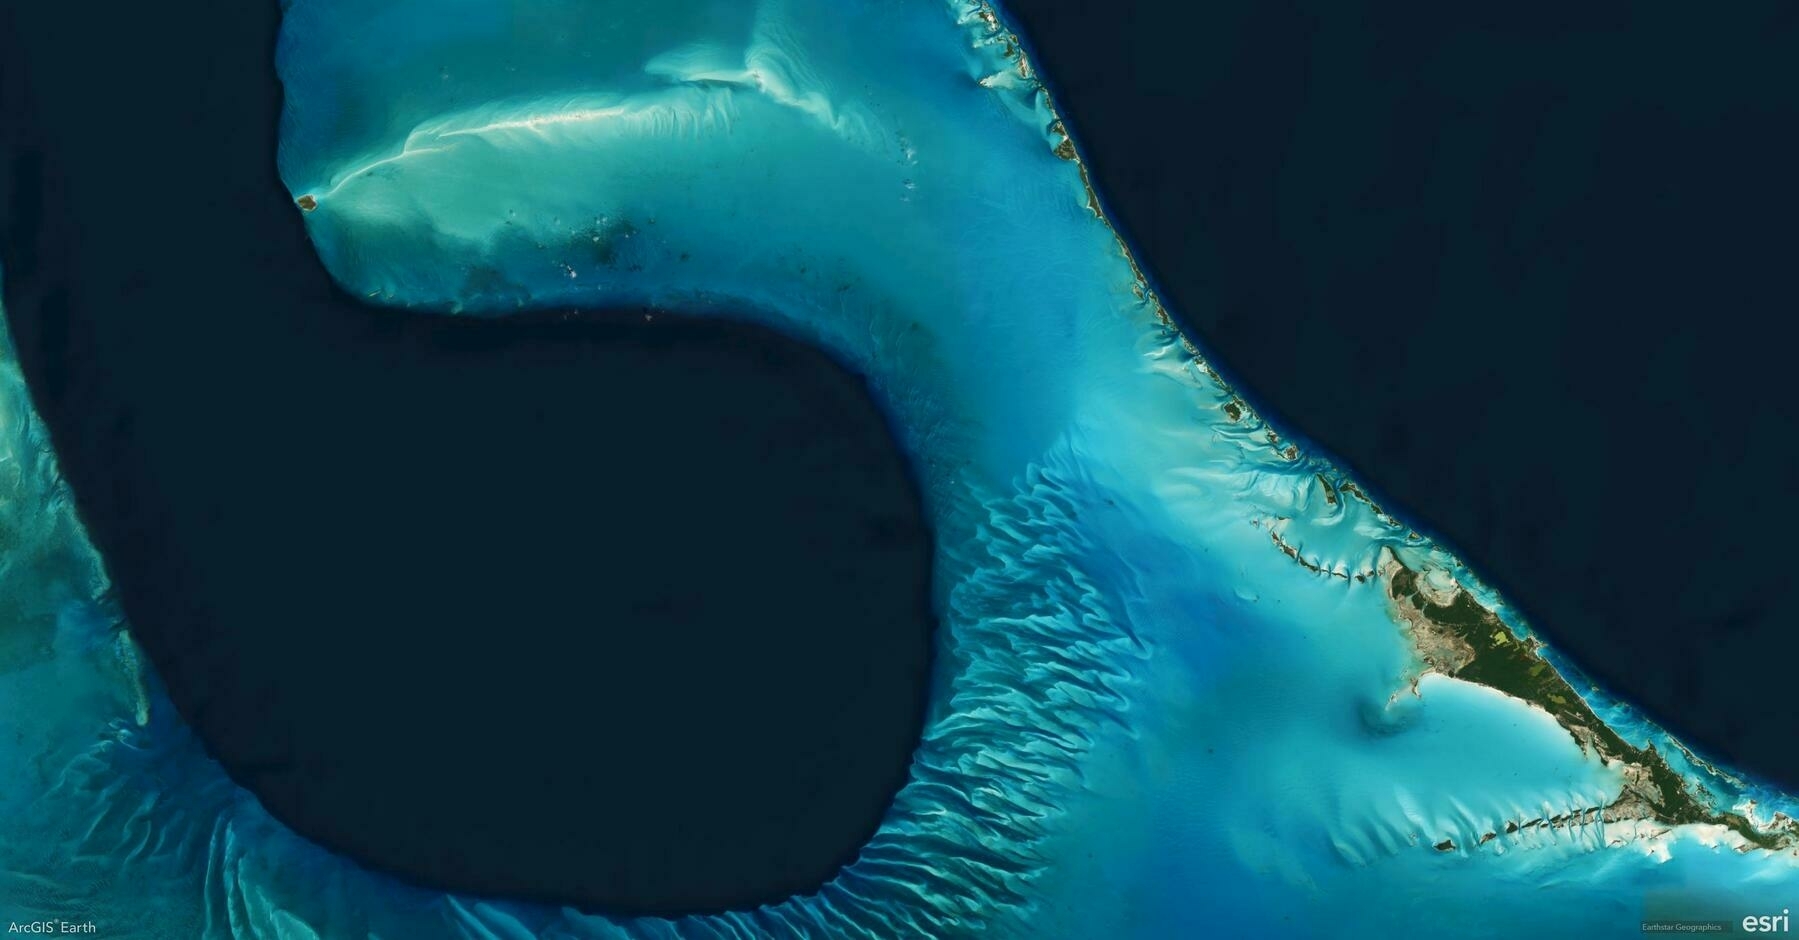
    Screenshot of East Coast, Bahamas, from ArcGIS Earth
    → 9:25 PM, Jan 7
    Also on Bluesky
  • 🌍 #ArcGISEarth230Tips | Tip 4: Unlock the Power of Drawing Tools in ArcGIS Earth ✍️

    Did you know ArcGIS Earth offers versatile drawing tools that allow you to annotate maps, highlight key features, and communicate insights visually? From simple points to complex polygons, these tools empower you to tell your geospatial story effectively.

    🛠️ The 4 Drawing Tools you should master:

    1️⃣ Points 📍 Mark specific locations on the globe, ideal for noting observation points, field data, or areas of interest.

    2️⃣ Lines & Paths 📏 Draw linear features for routes, boundaries, or infrastructure layouts. Use them to plan pathways or measure distances accurately.

    3️⃣ Polygons 🛑 Outline areas of interest for zoning, land-use mapping, or risk assessment.

    4️⃣ Overlays 🖼️ Add Ground Overlays or Screen Overlays to integrate external images and maps directly onto your scene, providing additional context and visual references.

    🚀 Pro Tips:

    1️⃣ Freehand Drawing Template: Enable Freehand Mode while drawing to create smooth, organic shapes for polygons and lines.

    2️⃣ Right-Click for Precision: Right-click during drawing to manually input coordinates, distance, or angle values for highly accurate geometry placement.

    Screenshot of Kimbolton, Australia, from ArcGIS Earth
    → 9:45 PM, Jan 6
    Also on Bluesky
  • 🌍 #ArcGISEarth230Tips | Tip 3: Unlock the Power of 30+ Supported Data Formats 📊

    Did you know ArcGIS Earth supports over 30 data formats across 3 major categories, offering unmatched flexibility for integrating, visualizing, and analyzing geospatial data? From local files to web services, every workflow is covered.

    🛠️ 3 Key Data Format Categories with 30+ Supported Formats:

    1️⃣ Local Files & Packages 📁 ArcGIS Earth seamlessly integrates local datasets and offline packages for both desktop analysis and field operations, including KML/KMZ, Shapefile, Raster, 3D Models, GPX, MSPK, and more.

    2️⃣ ArcGIS Services 🌐 Leverage real-time data streams and centralized services from ArcGIS Online or ArcGIS Enterprise to power dynamic, up-to-date visualizations. Supported formats include Feature Service, Map Service, Image Service, Scene Service, and more.

    3️⃣ OGC Standards 🌍 Ensure global interoperability with open geospatial standards. ArcGIS Earth supports OGC-compliant data formats, making integration with third-party systems seamless. Examples include WMS, WFS, WMTS, GeoPackage, 3D Tiles, SLPK, and others.

    🚀 Pro Tip: Drag and drop files directly into ArcGIS Earth or use the Add Data panel to quickly integrate multiple formats into your scene.

    Screenshot of Pulen, Argentina, from ArcGIS Earth
    → 10:48 PM, Jan 3
    Also on Bluesky
  • 🌍 #ArcGISEarth230Tips | Tip 2: 5 Powerful Navigation Controls in ArcGIS Earth 🧭

    Did you know ArcGIS Earth supports 5 distinct navigation controls, offering seamless exploration across 3D environments. Whether you’re analyzing terrain, presenting to stakeholders, or casually exploring, these controls ensure precision and efficiency.

    🛠️ The 5 Navigation Controls:

    1. Mouse Controls: Effortlessly pan, zoom, and rotate with your mouse. Use the right-click flight patterns for dynamic exploration.
    2. Keyboard Shortcuts: Navigate with precision using keys like N (North), U/J (Elevation), R (North and Center), or Arrow keys for panning.
    3. Touch Navigation: Perfect for touchscreen devices – pinch to zoom, drag to pan, and rotate with two fingers.
    4. 3D Space Mouse Support: Fly through terrains with smooth, intuitive 3D mouse movements.
    5. On-Screen Navigator: Use the Compass Button and Zoom Controls for guided exploration.

    🚀 Pro Tip: Q + Hover Pointer — Activate Fly Mode to seamlessly pan and rotate based on your pointer’s position.

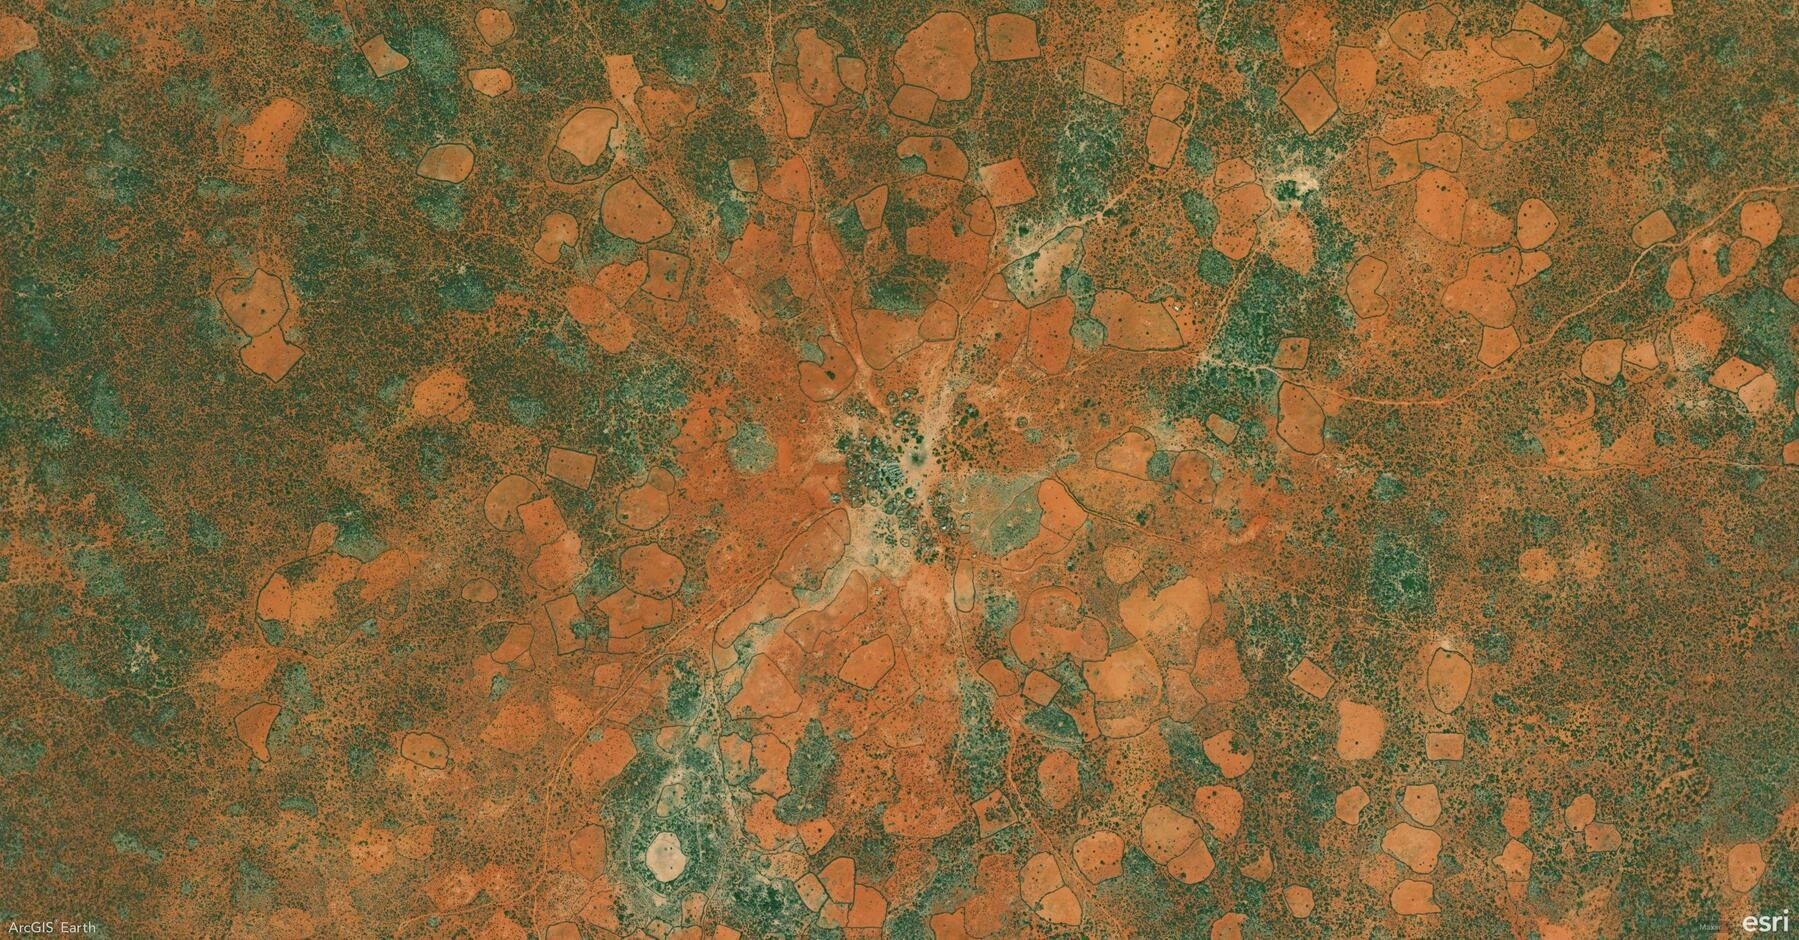
    Screenshot of Bulo-Burte, Somalia, from ArcGIS Earth
    → 9:51 PM, Jan 2
    Also on Bluesky
  • 🌍 #ArcGISEarth230Tips | Tip 1: Install ArcGIS Earth with Ease 🌐

    Did you know you can install ArcGIS Earth silently using command-line parameters for a hassle-free setup? This is perfect for deploying across multiple machines or automating installations. Here’s how:

    msiexec.exe /i <setup location>\ArcGISEarth.msi ALLUSERS=2 INSTALLDIR="C:\MyArcGISEarth\" ACCEPTEULA=yes /qn

    🚀 Pro Tip: Add a configuration file for custom settings using the CONFIGFILE=UseConfigFile CONFIGPATH=<path> parameter.

    Whether you’re setting up for a single user or an entire team, this quick tip will save time and streamline your workflow. Check out the documentation for more details!

    Screenshot of Honolulu, United States, from ArcGIS Earth
    → 9:05 PM, Jan 1
    Also on Bluesky
← Newer Posts Page 2 of 2
  • RSS
  • JSON Feed
  • Lucky
  • Archive
  • About